Install a SSL Certificate Directly onto Java Cloud Service
When you provision an Oracle Java Cloud Service (JCS) instance, you get a full Weblogic server with a real IP address on the public internet, configured (via Compute Cloud) to listen for http on port 80 and https on port 443. What you don’t get is a DNS entry for your server nor a SSL certificate – you’re responsible for setting these up yourself.
What this means is when you surf to a https:// flavor of URL for your freshly-created server, your browser will alert you that the demo SSL certificates are invalid:
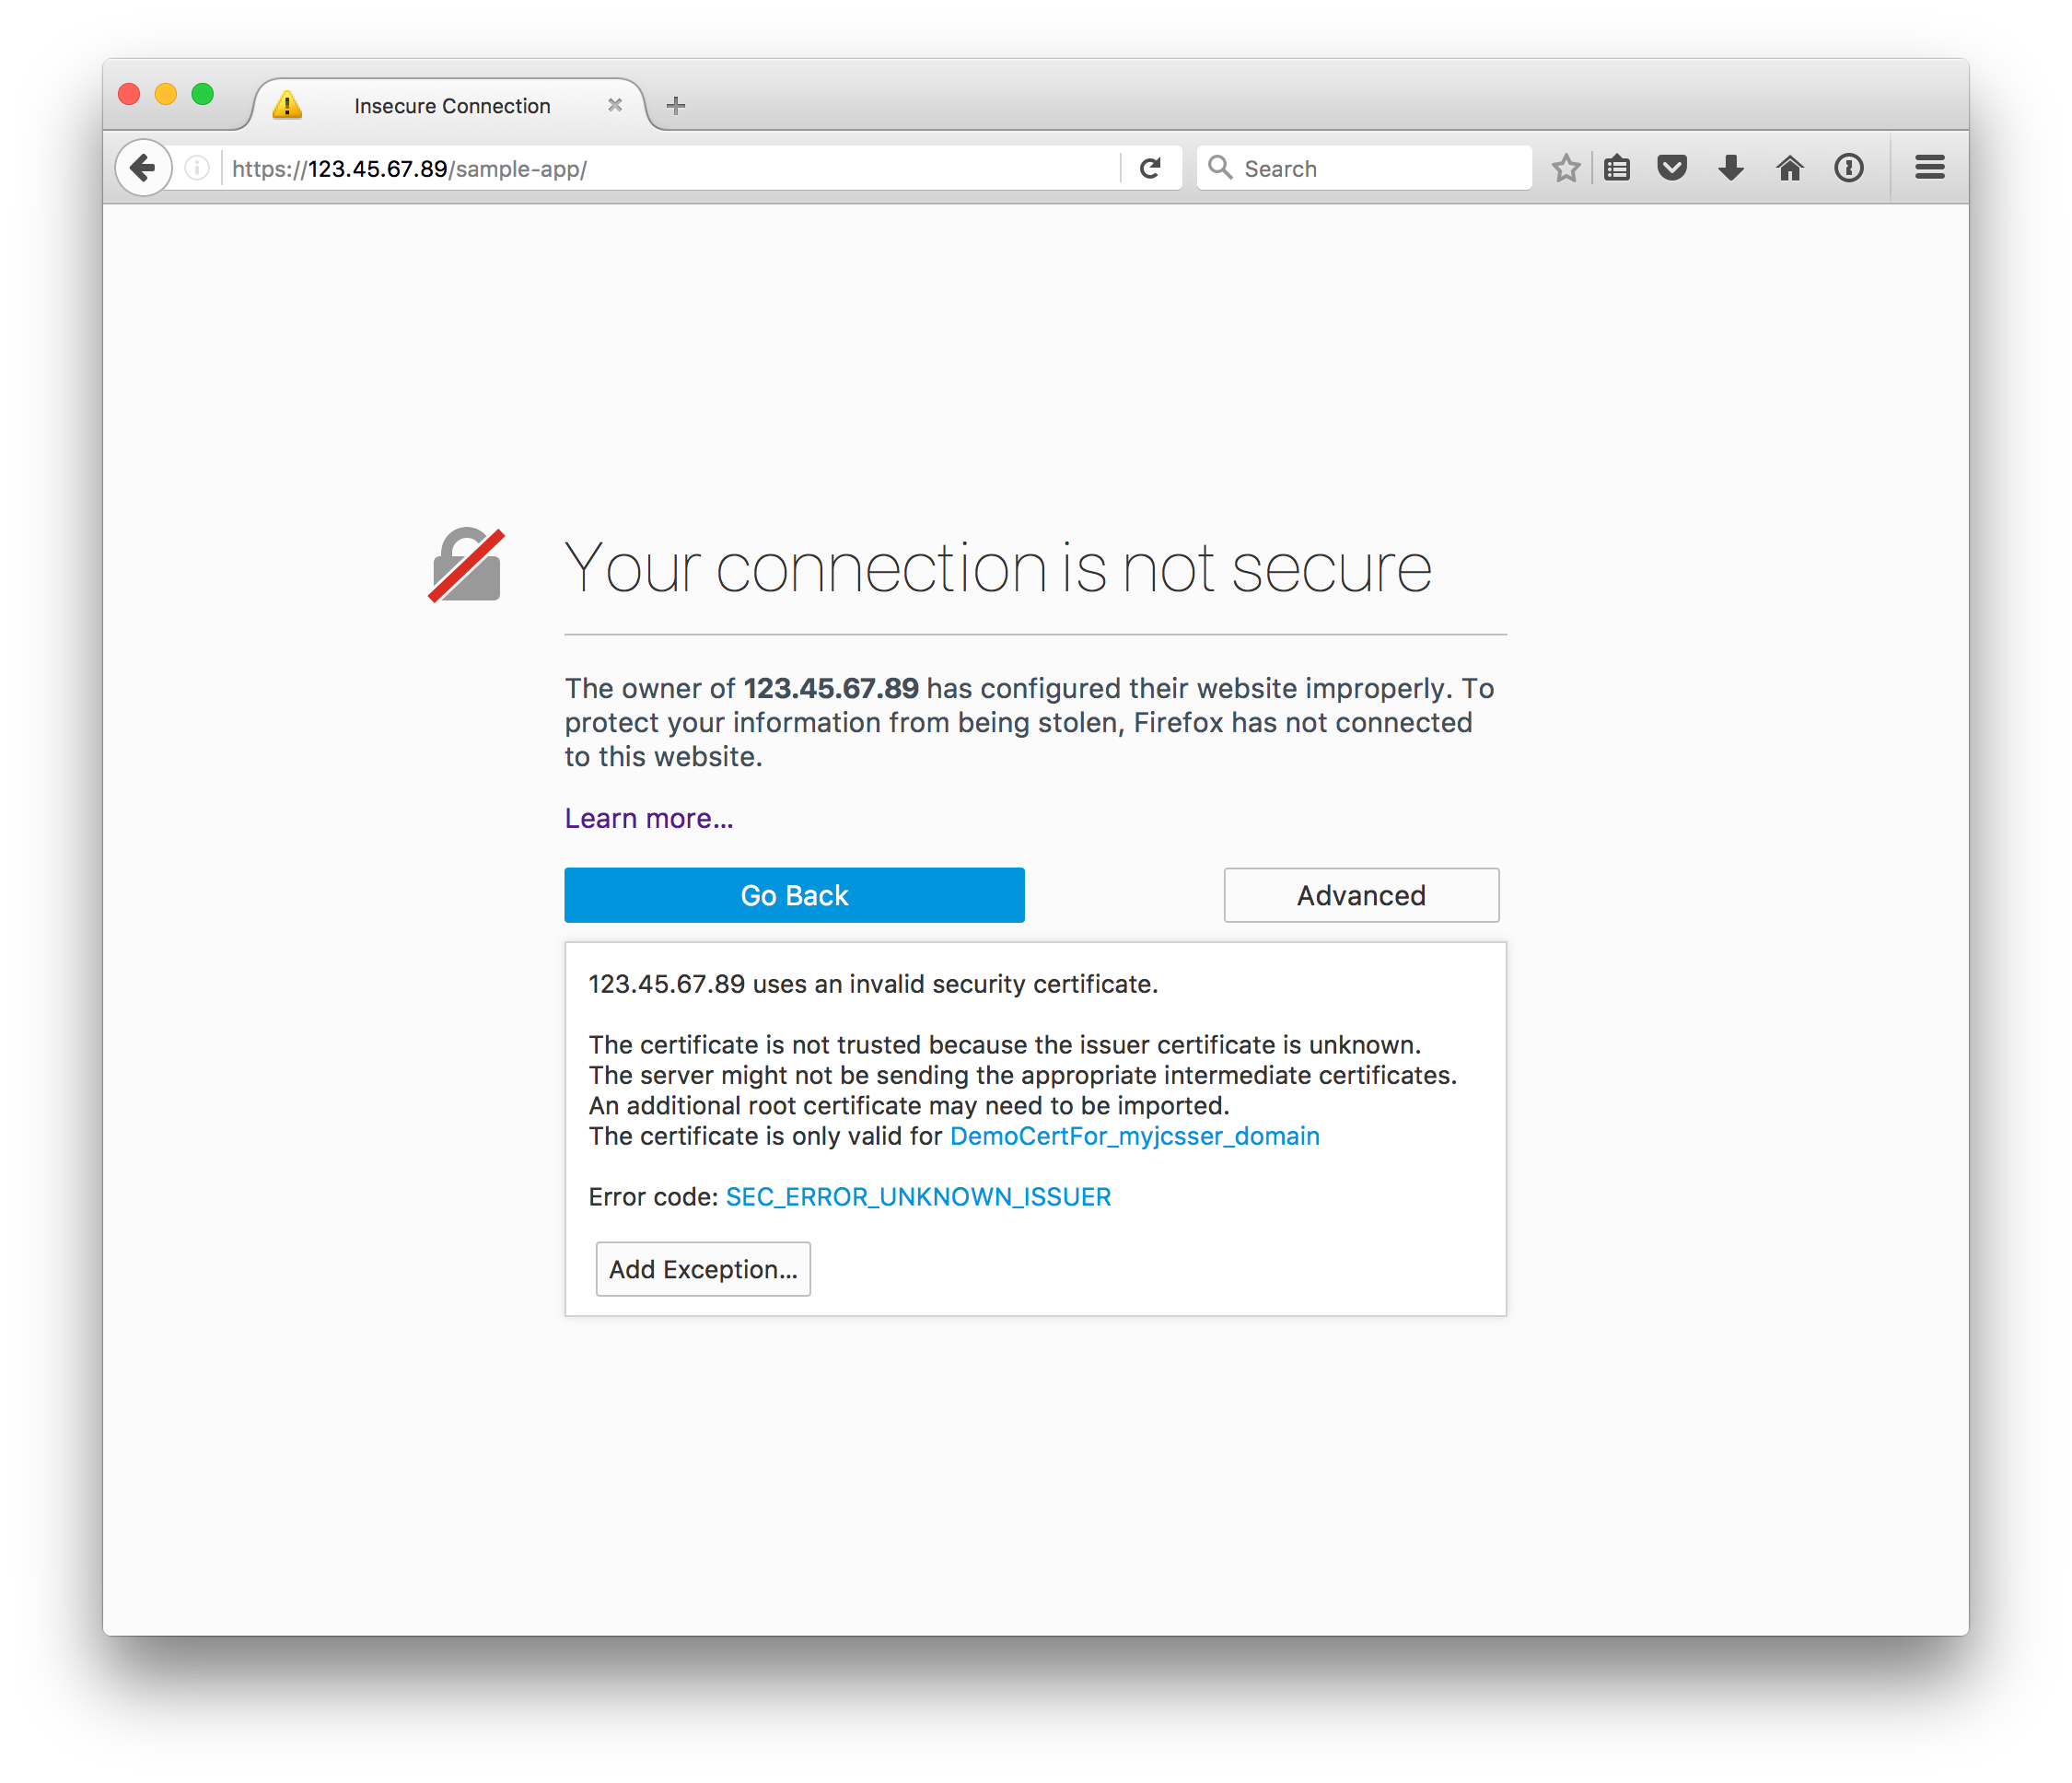
If this is just a prototype server, maybe you’re alright with clicking through and telling the browser that things are safe. Putting up with the red line through the https:// in the address bar is not a big deal. However, we had a need to reconfigure a demo JCS server with real, valid SSL certificates so that we could embed our content inside other servers with valid SSL certs.
Now there’s an official way to do this properly, but that process requires a Load Balancer node for each JCS instance each of which consumes an OCPU. In our trial environment, we had a limited quota of OCPUs. Instead of registering our SSL certificates the right way through the Oracle Cloud wizards, the following steps configure the Weblogic server directly with a real SSL certificate:
- Register your domain and add DNS entry for your JCS server’s public IP
- Get SSH access to your JCS VM server
- Create a keystore and a CSR
- Request and Obtain a SSL Certificate
- Import the certificate into your keystore
- Configure Weblogic to use the keystore
- Test and revel in your success
Before we begin, I just want to emphasize that this is not the approved way to do SSL on JCS. While it will get you through in a pinch if all you need is a valid https connection, it is definitely not an official supported configuration. But hey, JCS is Weblogic underneath, and you might find these are good instructions even if you’re just setting up SSL on an on-premise server.
Register your domain and add DNS entry for your JCS server’s public IP
Assuming you don’t already have a corporate domain and the DNS infrastructure in place to support it, the first step is to pick a domain name, register it, and then add a DNS A record pointing at your JCS server.
I used DNSimple to register a custom domain name and then added an A record for my JCS public IP address.

The important thing is that you have access to the email address used for the domain administrator (even if it’s hidden behind Whois privacy protect; that’s fine), since we’ll be using that to verify you own the domain when we register the SSL certificate, below.
Get SSH access to your JCS VM server
We’re going to get down in the weeds here so we’ll need shell access to the VM that the JCS Weblogic server is running on.
You’ll need a pair of SSH keys generated on your computer so that you can upload your public key to the JCS server.
Navigate to the JCS Service Console and pull down the hamburger menu for your JCS instance. Choose SSH Access and upload your new SSH Public Key file. This process will reboot the VM that your JCS instance is running on, so make sure you schedule for the outage.

After the reboot, if everything worked right, you should be able to use your private .ssh key to access the shell prompt on your JCS VM. You’ll connect as the opc user and use the JCS VM’s IP address for the host:
ssh opc@123.45.67.89Create a keystore and a CSR
Once you’re connected you’re logged in as the opc user, but that user has very little access to the juicy parts of your Weblogic installation. However, the opc user does have sudo, so you can become the oracle user:
[opc@myjcsserver ~]$ sudo su - oracleNow you can start setting up the SSL keystores as the oracle user, and Weblogic will be able to load your certificates because it will have the proper file system permissions. I sourced the $DOMAIN_HOME environment out of habit:
-bash-4.1$ cd /u01/data/domains/myjcsser_domain/bin
-bash-4.1$ ./setDomainEnv.sh   # source the environment vars for weblogic domain
Next, you need a place to put the keystore. I stuck mine in a shallow directory I knew I’d remember later when I needed to key it into the Weblogic admin console:
-bash-4.1$ mkdir /u01/data/keystores && cd $_Our final steps for this phase are to create a keystore and then a certificate signing request to send to our SSL provider. First you’ll use keytool to create a keystore and generate a key pair all at the same time. Then you’ll used keytool again to create a certificate signing request (CSR) file. Last you’ll spool that CSR file to the screen:
-bash-4.1$ keytool -genkeypair \
 -alias myjcsserver_cert \
 -keyalg RSA \
 -sigalg SHA256withRSA -keysize 2048 \
 -dname "CN=myjcsserver.orclpaas.com,OU=NAA Sales Consulting,O=Oracle Corporation,L=Redwood City,ST=California,C=US" \
 -keypass myKEYpwdis#1 \
 -keystore keystore.jks \
 -storepass mySTOREpwdis#1too

-bash-4.1$ keytool -certreq -v \
 -alias myjcsserver_cert \
 -file myjcsserver-orclpaas-com_cert.csr \
 -keypass myKEYpwdis#1 \
 -keystore keystore.jks \
 -storepass mySTOREpwdis#1too

Certification request stored in file <myjcsserver-orclpaas-com_cert.csr>
Submit this to your CA

-bash-4.1$ cat myjcsserver-orclpaas-com_cert.csr
-----BEGIN NEW CERTIFICATE REQUEST-----
MIIDDjCCAfYCAQAwgZgxCzAJBgNVBAYTAlVTMRMwEQYDVQQIEwpDYWxpZm9ybmlh
MRUwEwYDVQQHEwxSZWR3b29kIENpdHkxGzAZBgNVBAoTEk9yYWNsZSBDb3Jwb3Jh
dGlvbjEdMBsGA1UECxMUTkFBIFNhbGVzIENvbnN1bHRpbmcxITAfBgNVBAMTGG15
...blahblahblahthisgoesonforawhile...TYlXaaRcchwNdRgFGzFc5vz5kxh
RaQ8H4L05gbBxI7RHAhjsZNrO2M2atUFjhhVk08z1ojlqjEKlYCgt6nMYigdFvRF
VKGnrp6DOGjQ+t9DGpyLZ7xU
-----END NEW CERTIFICATE REQUEST-----
The first step will create a new /u01/data/keystores/keystore.jks file. Use your fully-qualified distinguished name, and make note of the key password and store password, as you’ll need them in later steps and when you configure Weblogic.
The second step registers a signing request inside the keystore and then creates a CSR file you can use to initiate the process with your certificate authority. Copy that echoed-out CSR to the clipboard: you’ll need it in the next step when you request your SSL certificate.
Request and Obtain a SSL Certificate
There are lots of vendors who will provide trusted SSL certificates to match your DNS domain. Your company may already have an arrangement with one of these vendors, and you should follow their process if your hostname falls under their DNS.
Since I created my own DNS domain with DNSimple, at first I attempted to use their SSL Certificates process to broker a cert from Comodo but had a lot of grief with their automated support. So a better solution for me was to go with Cheap$$L Security to get a RapidSSL certificate.
BTW, LetsEncrypt is a newer player on the SSL scene, and their free certificates had great appeal for our prototype project, but the 90-day limit on certificates before they expire and the work it would take to automate the process on the JCS compute node wasn’t worth the hassle compared to a few bucks for a cheap SSL cert, IMHO.
If you, like me, are managing your own DNS domain you can choose one of the cheapest Domain Validation certificates – especially since this is just for prototyping. If this were for a production server or for doing eCommerce, you might want to shell out for a Extended Validated so that your users might put more trust in you because they get better feedback in the browsers’ address bars. Like we said before, these steps are already a hack: you shouldn’t be following these steps for anything production!
Another option you might consider, even though it’s more expensive: if you’re going to do a lot of SSL certificates or be renaming your DNS entries for your prototypes, a wildcard certificate is a lot easier to work with as you don’t have to register each and every DNS hostname with a unique CSR. However, these steps assume a single-hostname certificate request.
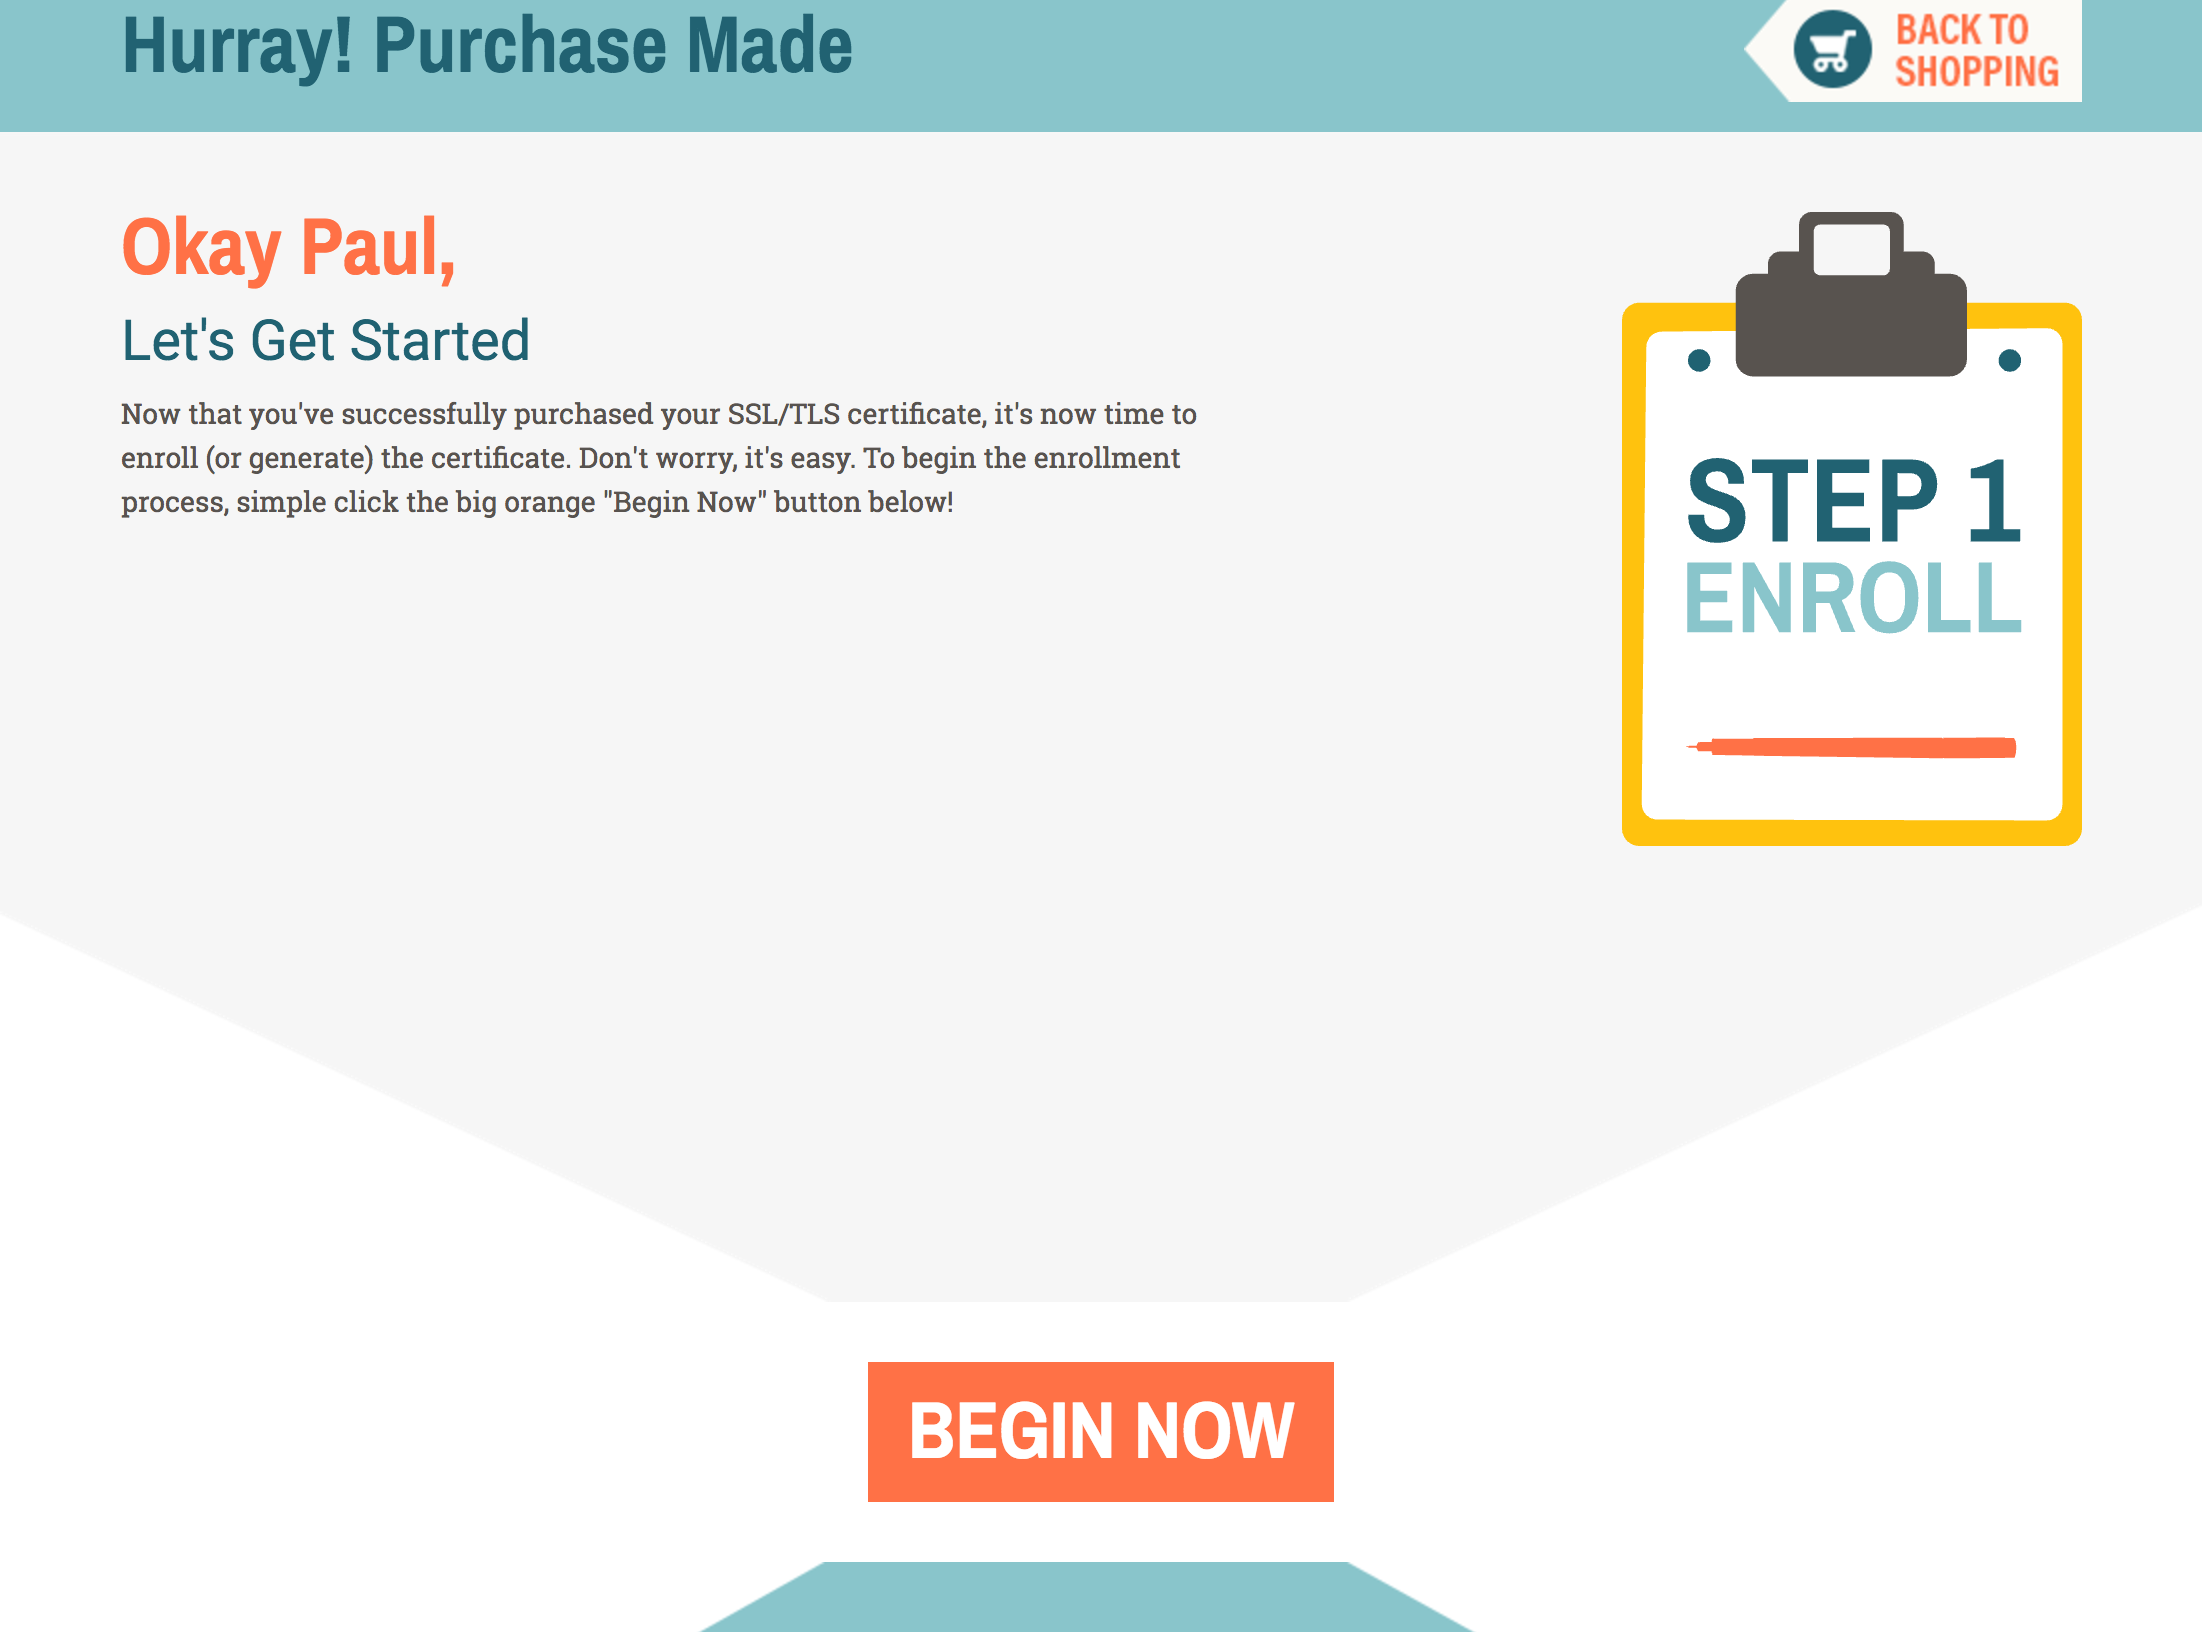
So click the Buy Now button for the RapidSSL Certificate. I chose just a one-year cert and added it to my cart. Fill out the order details, press Complete Order, and the next step is to begin the enrollment process by clicking the Begin Now button:
Fill in the fields as follows:
- Select Your Order Type: New
- Switching from Another SSL Brand?: No
- Choose your Automated Authentication Option: Email Authentication
- Input CSR (Certificate Signing Request): paste in your certificate request text copied from the JCS VM’s command prompt above
- Select Your Server: Weblogic - all versions
- Select the Signature Algorithm: SHA-2

Click the Continue button. The server will read your CSR and ask you to confirm the details:
- Confirm The Domain You Submitted: this should be autofilled from the CSR, if the
keytoolsteps went correctly - Confirm Your Information: this is the dname embedded in the CSR
- Select Approver Email Address: the emails listed come from the domain you registered above. I picked the first one which was obscured by whoisprivacyprotect.com. Remember that you’ll need to have access to the email account so that you can reply to the RapidSSL email verification process
- Site Administrator Contact Information: you need to fill these all in, even if they are the same
- Subscriber Agreement: agree to the terms
Click Continue.
The next step will arrive in your inbox. If it doesn’t come through, you can return to the CheapSSL Security website and check your Incomplete Orders under My Account and reprocess the form.
You should get an email from sslorders@geotrust.com asking you to click a URL to review and approve the certificate request. This is how they confirm that you own the domain that you are requesting a certificate for. Click the link and then click the “I Approve” button on the RapidSSL.com website.

The last step will also arrive in your inbox. The actual certificate will arrive along with an intermediate certificate. You’ll use these in the next step.

Import the certificate into your keystore
Return back to the terminal, logged into your JCS VM and switched to the oracle user. If you need to login and sudo over again, follow the steps above. Make sure you’re in the /u01/data/keystores directory.
We need to get the certificate in your email onto the filesystem of your JCS VM. There are many ways to do this, but I used vim to paste the contents copied from the email and then saved it into a file. Just be sure to grab the right certificate for the web server, and copy everything from and including -----BEGIN CERTIFICATE-----
to -----END CERTIFICATE-----
.
You can use this command line redirect trick to create a file from a paste, remembering to press Ctrl-D when done to close the file:
-bash-4.1$ cat > myjcsserver-orclpaas-com_cert.cer
-----BEGIN CERTIFICATE-----
MIIFdDCCBFygAwIBAgIQbSktxL1fUSvI5rVMBVd80DANBgkqhkiG9w0BAQsFADBC
MQswCQYDVQQGEwJVUzEWMBQGA1UEChMNR2VvVHJ1c3QgSW5jLjEbMBkGA1UEAxMS
...blahblahblahreallyreallylong...+bu5y+VZTMPisjqqiw/VLZO37jdspK
Hl5z6sYPcml3AjoPYBOPAyQnpd8h3SVkAxH08TNzr1ZYqwB2WaS7a1Ag6S2g7pTr
W8nOc8muh5MSVEbsKCp2KeFhiEDf4EG9JR2KkVmPWSikxJd+AGeRSyJyDEbioPCd
BXVmvVaScvQ=
-----END CERTIFICATE-----

(**press Ctrl-D, twice if you forget to press enter after the last line**)
We need to also create a file for the intermediate certificate for RapidSSL. Again, copy all of the intermediate cert text including the BEGIN and END lines and create a file on the server:
-bash-4.1$ cat > intermediate.cer
-----BEGIN CERTIFICATE-----
MIIETTCCAzWgAwIBAgIDAjpxMA0GCSqGSIb3DQEBCwUAMEIxCzAJBgNVBAYTAlVTMRYwFAYDVQQK
Ew1HZW9UcnVzdCBJbmMuMRswGQYDVQQDExJHZW9UcnVzdCBHbG9iYWwgQ0EwHhcNMTMxMjExMjM0
NTUxWhcNMjIwNTIwMjM0NTUxWjBCMQswCQYDVQQGEwJVUzEWMBQGA1UEChMNR2VvVHJ1c3QgSW5j
LjEbMBkGA1UEAxMSUmFwaWRTU0wgU0hBMjU2IENBMIIBIjANBgkqhkiG9w0BAQEFAAOCAQ8AMIIB
CgKCAQEAu1jBEgEul9h9GKrIwuWF4hdsYC7JjTEFORoGmFbdVNcRjFlbPbFUrkshhTIWX1SG5tmx
2GCJa1i+ctqgAEJ2sSdZTM3jutRc2aZ/uyt11UZEvexAXFm33Vmf8Wr3BvzWLxmKlRK6msrVMNI4
/Bk7WxU7NtBDTdFlodSLwWBBs9ZwF8w5wJwMoD23ESJOztmpetIqYpygC04q18NhWoXdXBC5VD0t
A/hJ8LySt7ecMcfpuKqCCwW5Mc0IW7siC/acjopVHHZDdvDibvDfqCl158ikh4tq8bsIyTYYZe5Q
Q7hdctUoOeFTPiUs2itP3YqeUFDgb5rE1RkmiQF1cwmbOwIDAQABo4IBSjCCAUYwHwYDVR0jBBgw
FoAUwHqYaI2J+6sFZAwRfap9ZbjKzE4wHQYDVR0OBBYEFJfCJ1CewsnsDIgyyHyt4qYBT9pvMBIG
A1UdEwEB/wQIMAYBAf8CAQAwDgYDVR0PAQH/BAQDAgEGMDYGA1UdHwQvMC0wK6ApoCeGJWh0dHA6
Ly9nMS5zeW1jYi5jb20vY3Jscy9ndGdsb2JhbC5jcmwwLwYIKwYBBQUHAQEEIzAhMB8GCCsGAQUF
BzABhhNodHRwOi8vZzIuc3ltY2IuY29tMEwGA1UdIARFMEMwQQYKYIZIAYb4RQEHNjAzMDEGCCsG
AQUFBwIBFiVodHRwOi8vd3d3Lmdlb3RydXN0LmNvbS9yZXNvdXJjZXMvY3BzMCkGA1UdEQQiMCCk
HjAcMRowGAYDVQQDExFTeW1hbnRlY1BLSS0xLTU2OTANBgkqhkiG9w0BAQsFAAOCAQEANevhiyBW
lLp6vXmp9uP+bji0MsGj21hWID59xzqxZ2nVeRQb9vrsYPJ5zQoMYIp0TKOTKqDwUX/N6fmS/Zar
RfViPT9gRlATPSATGC6URq7VIf5Dockj/lPEvxrYrDrK3maXI67T30pNcx9vMaJRBBZqAOv5jUOB
8FChH6bKOvMoPF9RrNcKRXdLDlJiG9g4UaCSLT+Qbsh+QJ8gRhVd4FB84XavXu0R0y8TubglpK9Y
Ca81tGJUheNI3rzSkHp6pIQNo0LyUcDUrVNlXWz4Px8G8k/Ll6BKWcZ40egDuYVtLLrhX7atKz4l
ecWLVtXjCYDqwSfC2Q7sRwrp0Mr82A==
-----END CERTIFICATE-----

(**press Ctrl-D, again twice if you forget to press enter after the last line**)
Now we have files we can use keytool to import back into the keystore, and it should match our CSR request from earlier.
Let’s import the intermediate cert first:
-bash-4.1$ keytool -import \
 -trustcacerts \
 -alias RapidSSLIntermediate \
 -file intermediate.cer \
 -keystore keystore.jks \
 -storepass mySTOREpwdis#1too

Certificate was added to keystore
Now, import the host certificate and note that it sees it as a reply:
-bash-4.1$ keytool -import \
 -trustcacerts \
 -alias myjcsserver_cert \
 -file myjcsserver-orclpaas-com_cert.cer \
 -keypass myKEYpwdis#1 \
 -keystore keystore.jks \
 -storepass mySTOREpwdis#1too

Certificate reply was installed in keystore
You’ve now got a valid keystore, registered for your DNS hostname and ready to be used by Weblogic. For fun, you can validate that the certificate chain is valid with this command:
java -cp /u01/app/oracle/middleware/wlserver/server/lib/weblogic.jar utils.ValidateCertChain -jks myjcsserver_cert keystore.jks

Cert[0]: CN=myjcsserver.orclpaas.com
Cert[1]: CN=RapidSSL SHA256 CA,O=GeoTrust Inc.,C=US
Cert[2]: CN=GeoTrust Global CA,O=GeoTrust Inc.,C=US
Certificate chain appears valid
Configure Weblogic to use the keystore
The last step is to reconfigure the Weblogic managed server to use the new keystore settings. Navigate to the Admin server for your JCS instance and sign in as the weblogic admin user.
Lock and Edit your domain, then navigate to Environment » Servers » managed server name » Configuration » Keystores tab.
Set the Keystores tab settings as follows:
- Keystores: Custom Identity and Java Standard Trust
- Custom Identity Keystore: /u01/data/keystores/keystore.jks
- Custom Identity Keystore Type: JKS
-
Custom Identity Keystore Passphrase: mySTOREpwdis#1too
- Java Standard Trust Keystore: /u01/jdk/jre/lib/security/cacerts
- Java Standard Trust Keystore Type: jks
- Java Standard Trust Keystore Passphrase: changeit (that is, unless you’ve changed it already)
Save your changes.

Now click on the SSL tab and set the settings:
- Identity and Trust Locations: Keystores
- Private Key Location: from Custom Identity Keystore
- Private Key Alias: myjcsserver_cert
- Private Key Passphrase: myKEYpwdis#1
- Certificate Location: from Custom Identity Keystore
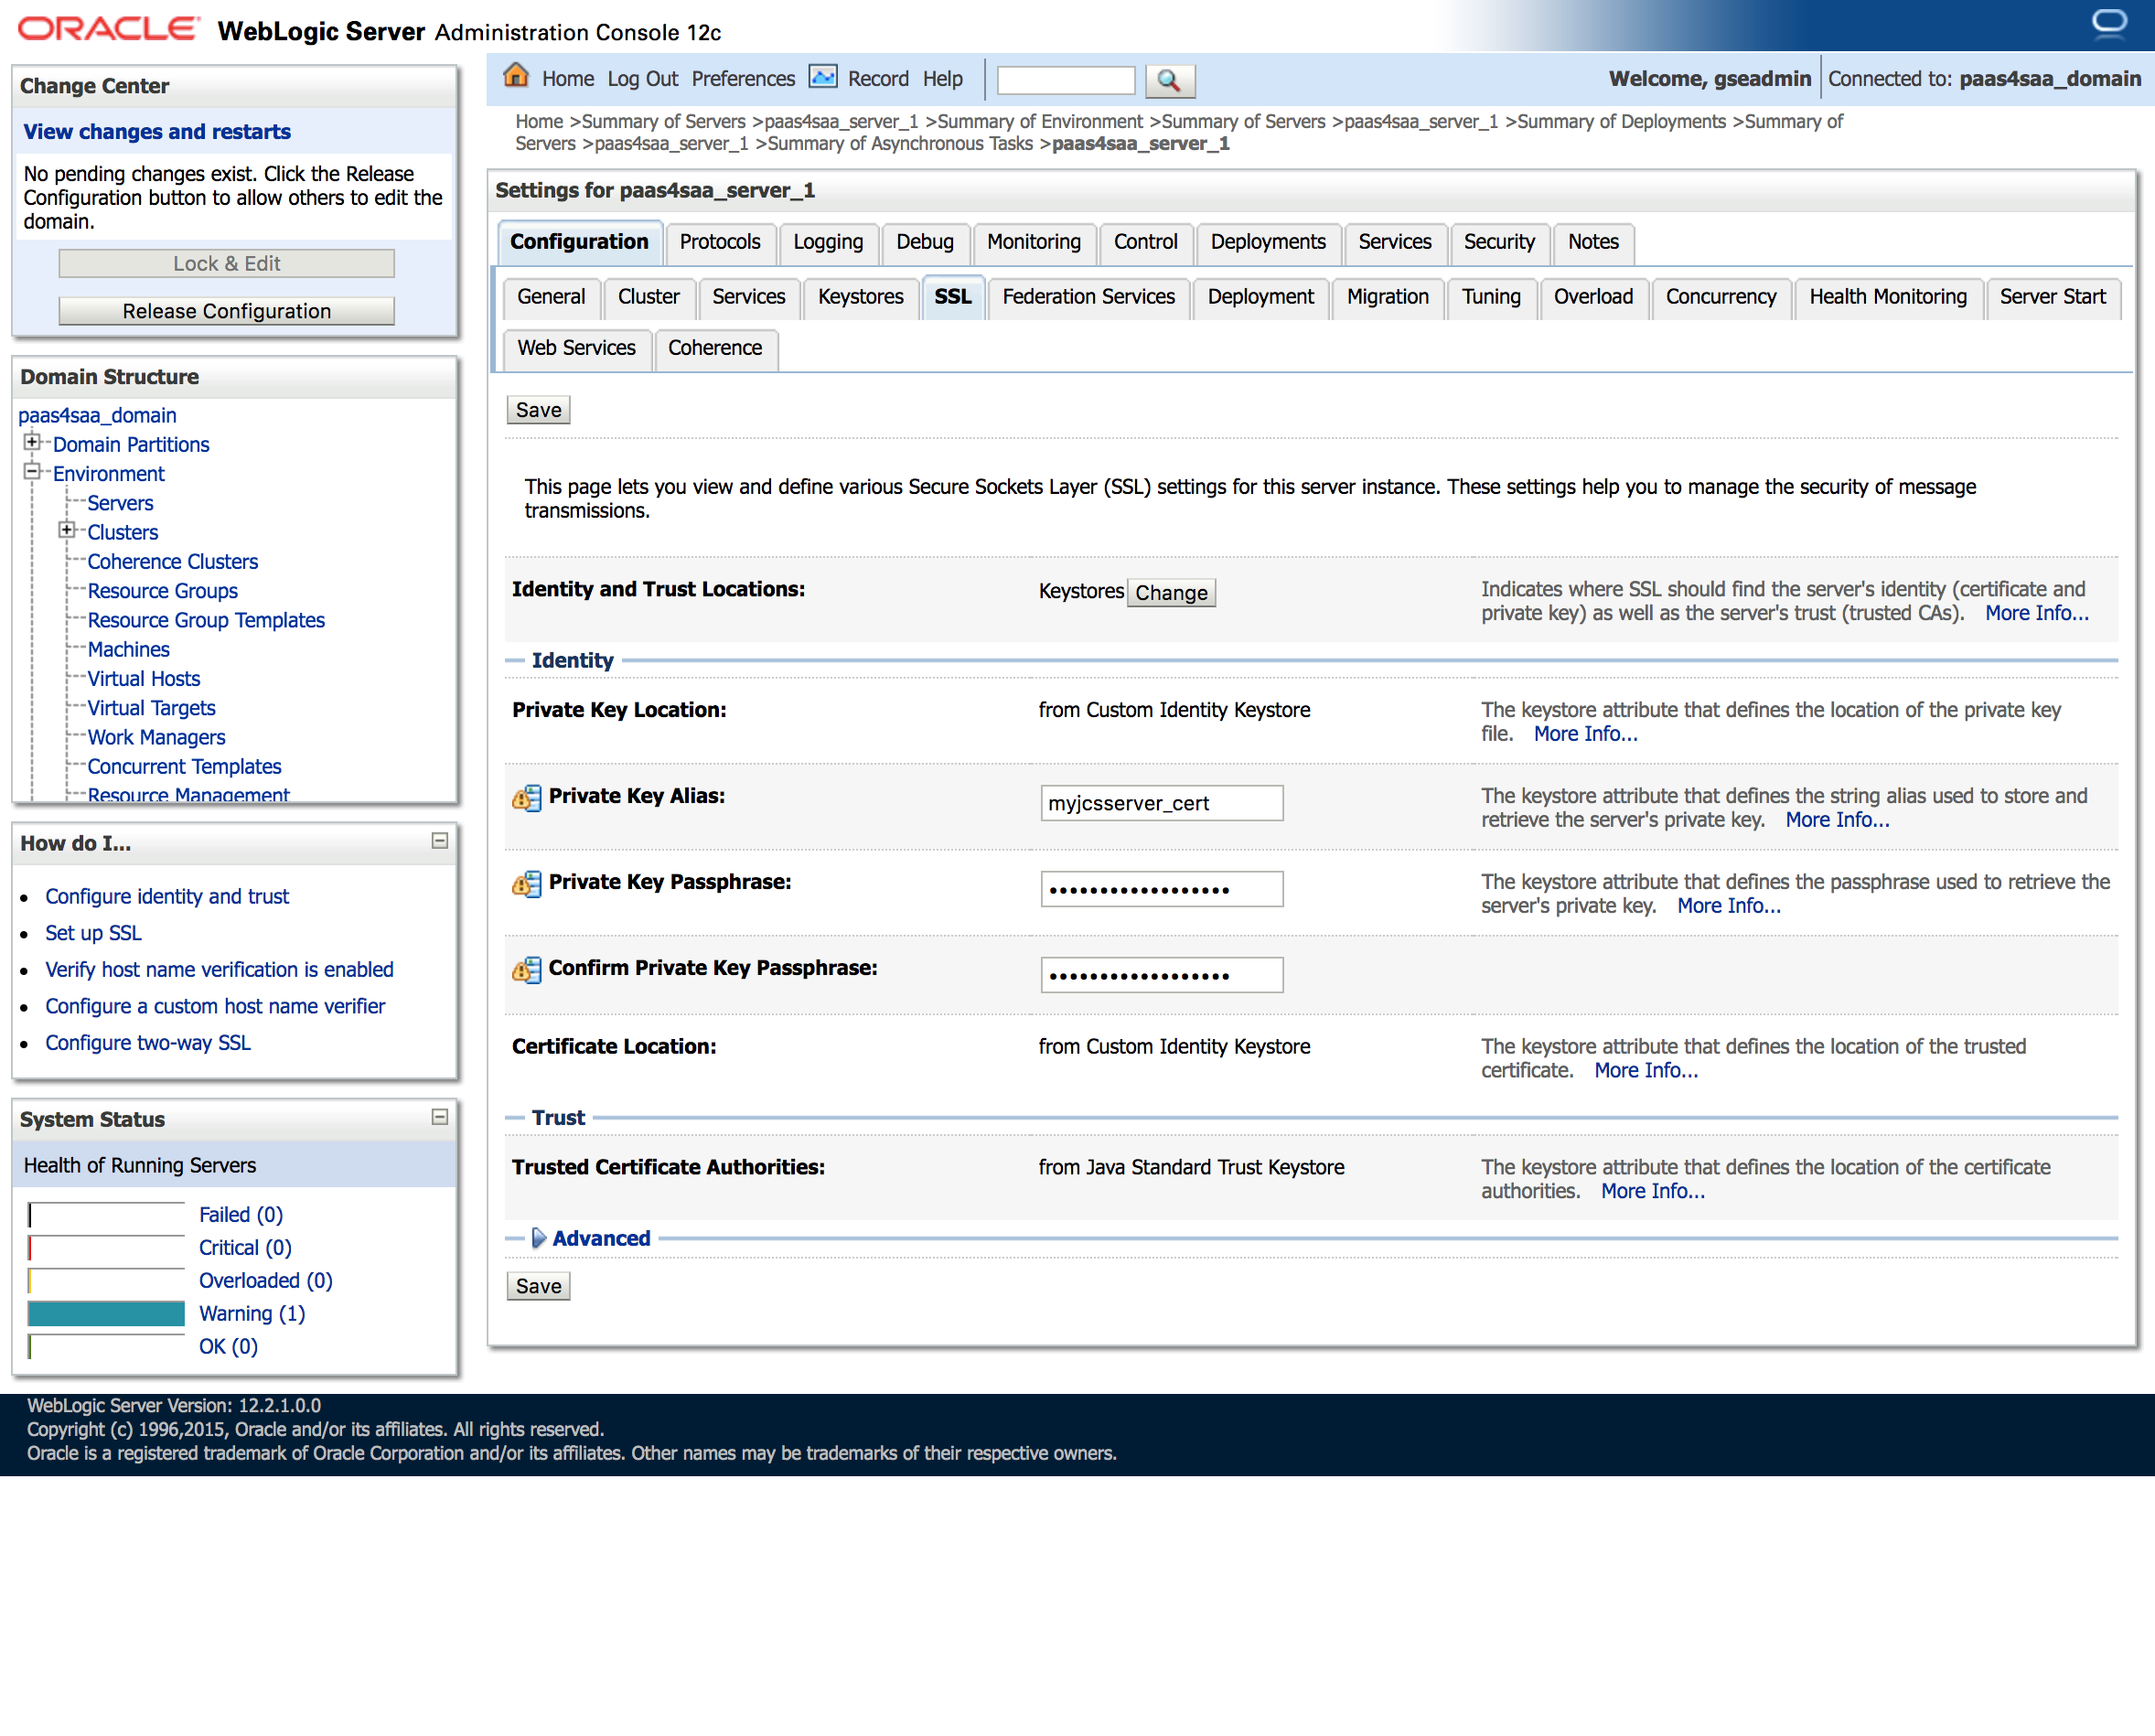
Click Save and then Activate Your Changes.
Now even though it says that all changes have been activated and no restarts are necessary, I’ve found that restarting the managed server is needed because it won’t pick up the new keystore.
Click on the Control tab for the managed server, then check the box next to the managed server. Pull down Shutdown » Force Shutdown Now and wait a few moments for the task to complete, refreshing as necessary to see progress. Then click Start to start the managed server back up.
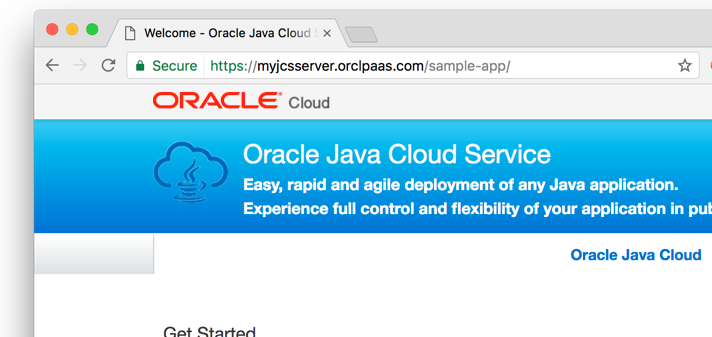
Test and revel in your success
You should now be able to navigate to the https version of your URLs with a valid certificate and a reassuring green lock in the address bar: