How do you add a play/pause bar in Swift?
So let’s say you’re building a iOS app that plays back an audio file, perhaps as an assignment for the Udacity iOS Nanodegree course…
Well, first you’ll need a game plan:
- We need a toolbar to hold the buttons
- We need fast-forward and reverse buttons
- These buttons need to be wired up to actions
- Those actions need to jump forward or rewind the playing audio
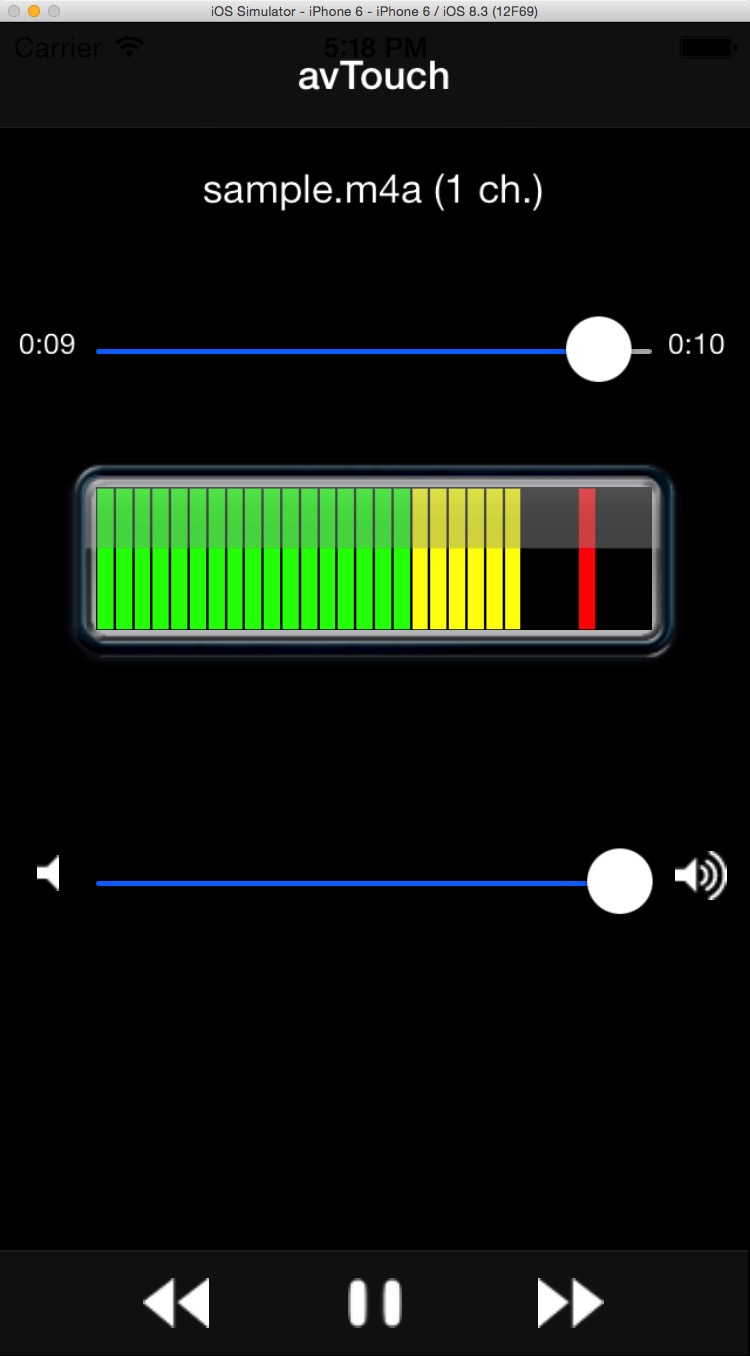
Also, some hints will be good. We’ll be back to scour Google and StackOverflow in time, but first there’s a nice (albeit dated) bit of sample code on Apple’s Developer Website. Sure, it’s written in Objective C and predates iOS 8, but it will at least give us something to look at. Download the avTouch sample code and after unzipping, open it in Xcode.
Will it build? Of course not, it’s a year and a half old and is full of deprecated methods and other warnings. Our biggest problem is a error in the awakeFromNib method of avTouchController: “Cannot initialize a parameter of type ‘id

What to do? Hey, it’s not my code, and I don’t know enough about iOS or Objective C to troubleshoot this. But I know how to comment out a line, and after putting in two slashes at the front of the troublesome line the project runs in the simulator!

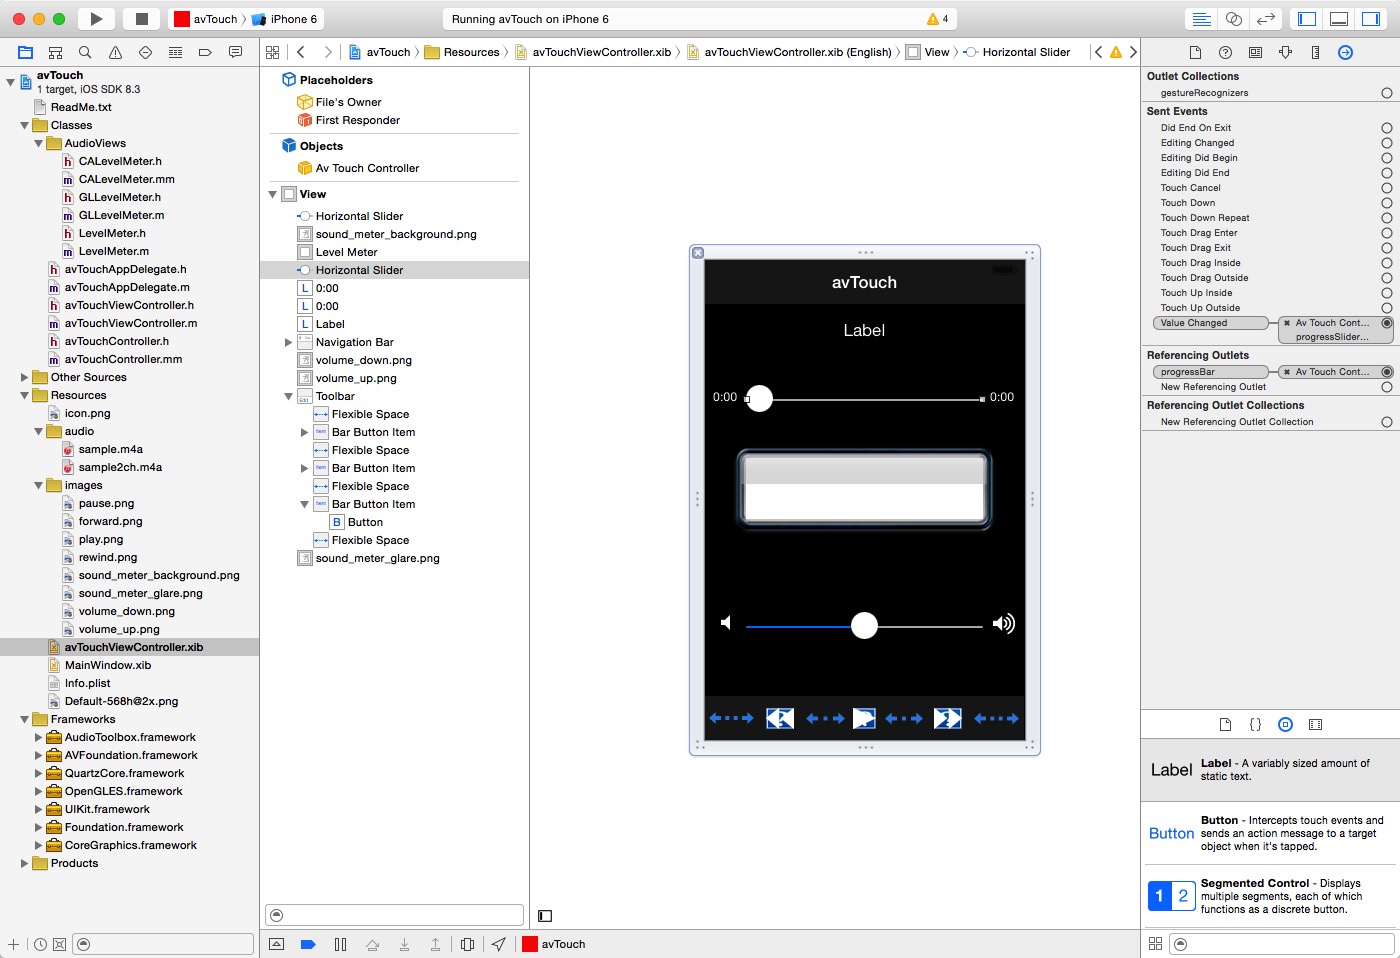
Clicking around back in Xcode we find avTouchViewController.xib, and it confirms that the UI is just a bunch of controls wired up to outlets and events. The forward and rewind buttons are, well, buttons wrapped in a toolbar, and the timeline is just a horizontal slider with labels on either end. We’ll do similar with our code.

Back in the Pitch Perfect app we started for the Udacity project, we’ll open the Play Sounds View Controller and add the UI components. Add a Toolbar to the bottom of the view. Next add four Flexible Space Bar Button Items and three Buttons to the toolbar, alternating between them. Notice how Xcode wraps the buttons inside of Bar Button Items for us. Delete the Bar Button Item that was a placeholder in the toolbar it was first created.

Now let’s replace the text of those items with buttons. In fact, we can drag our current stop button onto the outline and then delete the item that was there. Xcode will create a Bar Button Item to wrap our button for us.
We’ll import two images for forward and back. Create image sets and then change the properties for the two buttons, removing the text and then using the new images. You may find it easier to click on the buttons themselves in the view’s document outline.

Now to wire these up to do something.
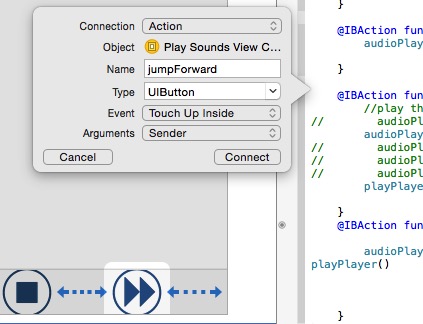
Change Xcode’s view to show the Assistant Editor and reveal the PlaySoundsViewController.swift file for this view. We need a method to fast forward when we tap the forward button. Control-drag from the forward button into the view controller code window (again, maybe easier to drag from the document outline), and release in the proper place to insert an action. After releasing the drag, change the connection to Action and name it jumpForward and make it Type UIButton.

We’ll start with a simple use case: tapping the button makes it go forward 0.2 seconds. Use this code for your action:
@IBAction func jumpForward(sender: UIButton) {
if (audioPlayer.currentTime > 0.0 && audioPlayer.currentTime < audioPlayer.duration) {
         audioPlayer.currentTime = audioPlayer.currentTime + 0.2
        }
    }
Give it a try in the simulator. It works! Sort of. Tapping the button over and over again isn’t the behavior we expect. We want to hold down the forward button and have it shuttle forward, and then resume play when we let go. We’ll have to change our code a bit, plus hook up actions to the other events for the button, such as Touch Up Inside and Outside.
What we want is to have the button repeatedly call a function to jump forward 0.2 seconds. Although we also want a slight pause in between jumps so that we can hear a bit of audio play. We need a timer event to fire over and over again until we let go.
We can use an NSTimer to do this (stole that idea from the Apple sample code). We have to call it a little differently in Swift.
Scroll to the top of your view controller class and declare this variable:
var timer = NSTimer()Now we need a new Action for the touch down event. Drag from our forward button’s Connection Inspector handle to our view controller and create a new action named ffwPressed.
We’ll reuse the jumpForward code as the function that ffwPressed will repeatedly call. But we need to change it so that any object can call it, so change the sender to AnyObject.
Now we’ll add the code to schedule a timer when ffwPressed is called. When you’re done your code for these two methods should look like this:
@IBAction func ffwPressed(sender: UIButton) {
        timer = NSTimer.scheduledTimerWithTimeInterval(0.2, target:self, selector: Selector("jumpForward"), userInfo: nil, repeats: true)

    }

    func jumpForward() {
        if (audioPlayer.currentTime > 0.0 && audioPlayer.currentTime < audioPlayer.duration) {
            audioPlayer.currentTime = audioPlayer.currentTime + 0.2
        }
    }
This will be great! When we press down, the timer will repeatedly call the jumpForward function every 0.2 seconds. Now we need a function to stop the timer when we let go.
From the Connections Inspector find the Touch Up Inside event and click the tiny X to delete the existing mapping to jumpForward(). Now drag the handle for Touch Up Inside to create a new action to give it a new mapping. Name this Action ffwReleased.
When we let go, we want the timer to stop firing, so we can just invalidate the timer. Add this code to the view controller:
@IBAction func ffwReleased(sender: UIButton) {
        timer.invalidate()
    }
While we’re at it, we should map this same function to Touch Up Outside and Touch Drag Outside so that ffwReleased() runs no matter how your finger leaves the button. Connect these events to the ffwReleased() action too.
Test it in the simulator: it works!
Last thing to do is repeat all that with the rewind button. Now you’ve got a working toolbar!
