Using the ABCS Custom Code Component to Get and Set Data
Application Builder Cloud Service (ABCS) is one of the newest “Citizen Developer” tools from Oracle. The idea is that normal folks can create apps by dropping components onto a canvas and tweaking property inspectors, and thus create departmental apps and connect them to SaaS systems. I’ve heard it described as the “democratization of enterprise application development” – power to the people!
However, ABCS is a young product and some of the use cases are still being fleshed out. You might find you need to do something beyond what the standard components can do. That’s when the Custom Code component comes in handy.

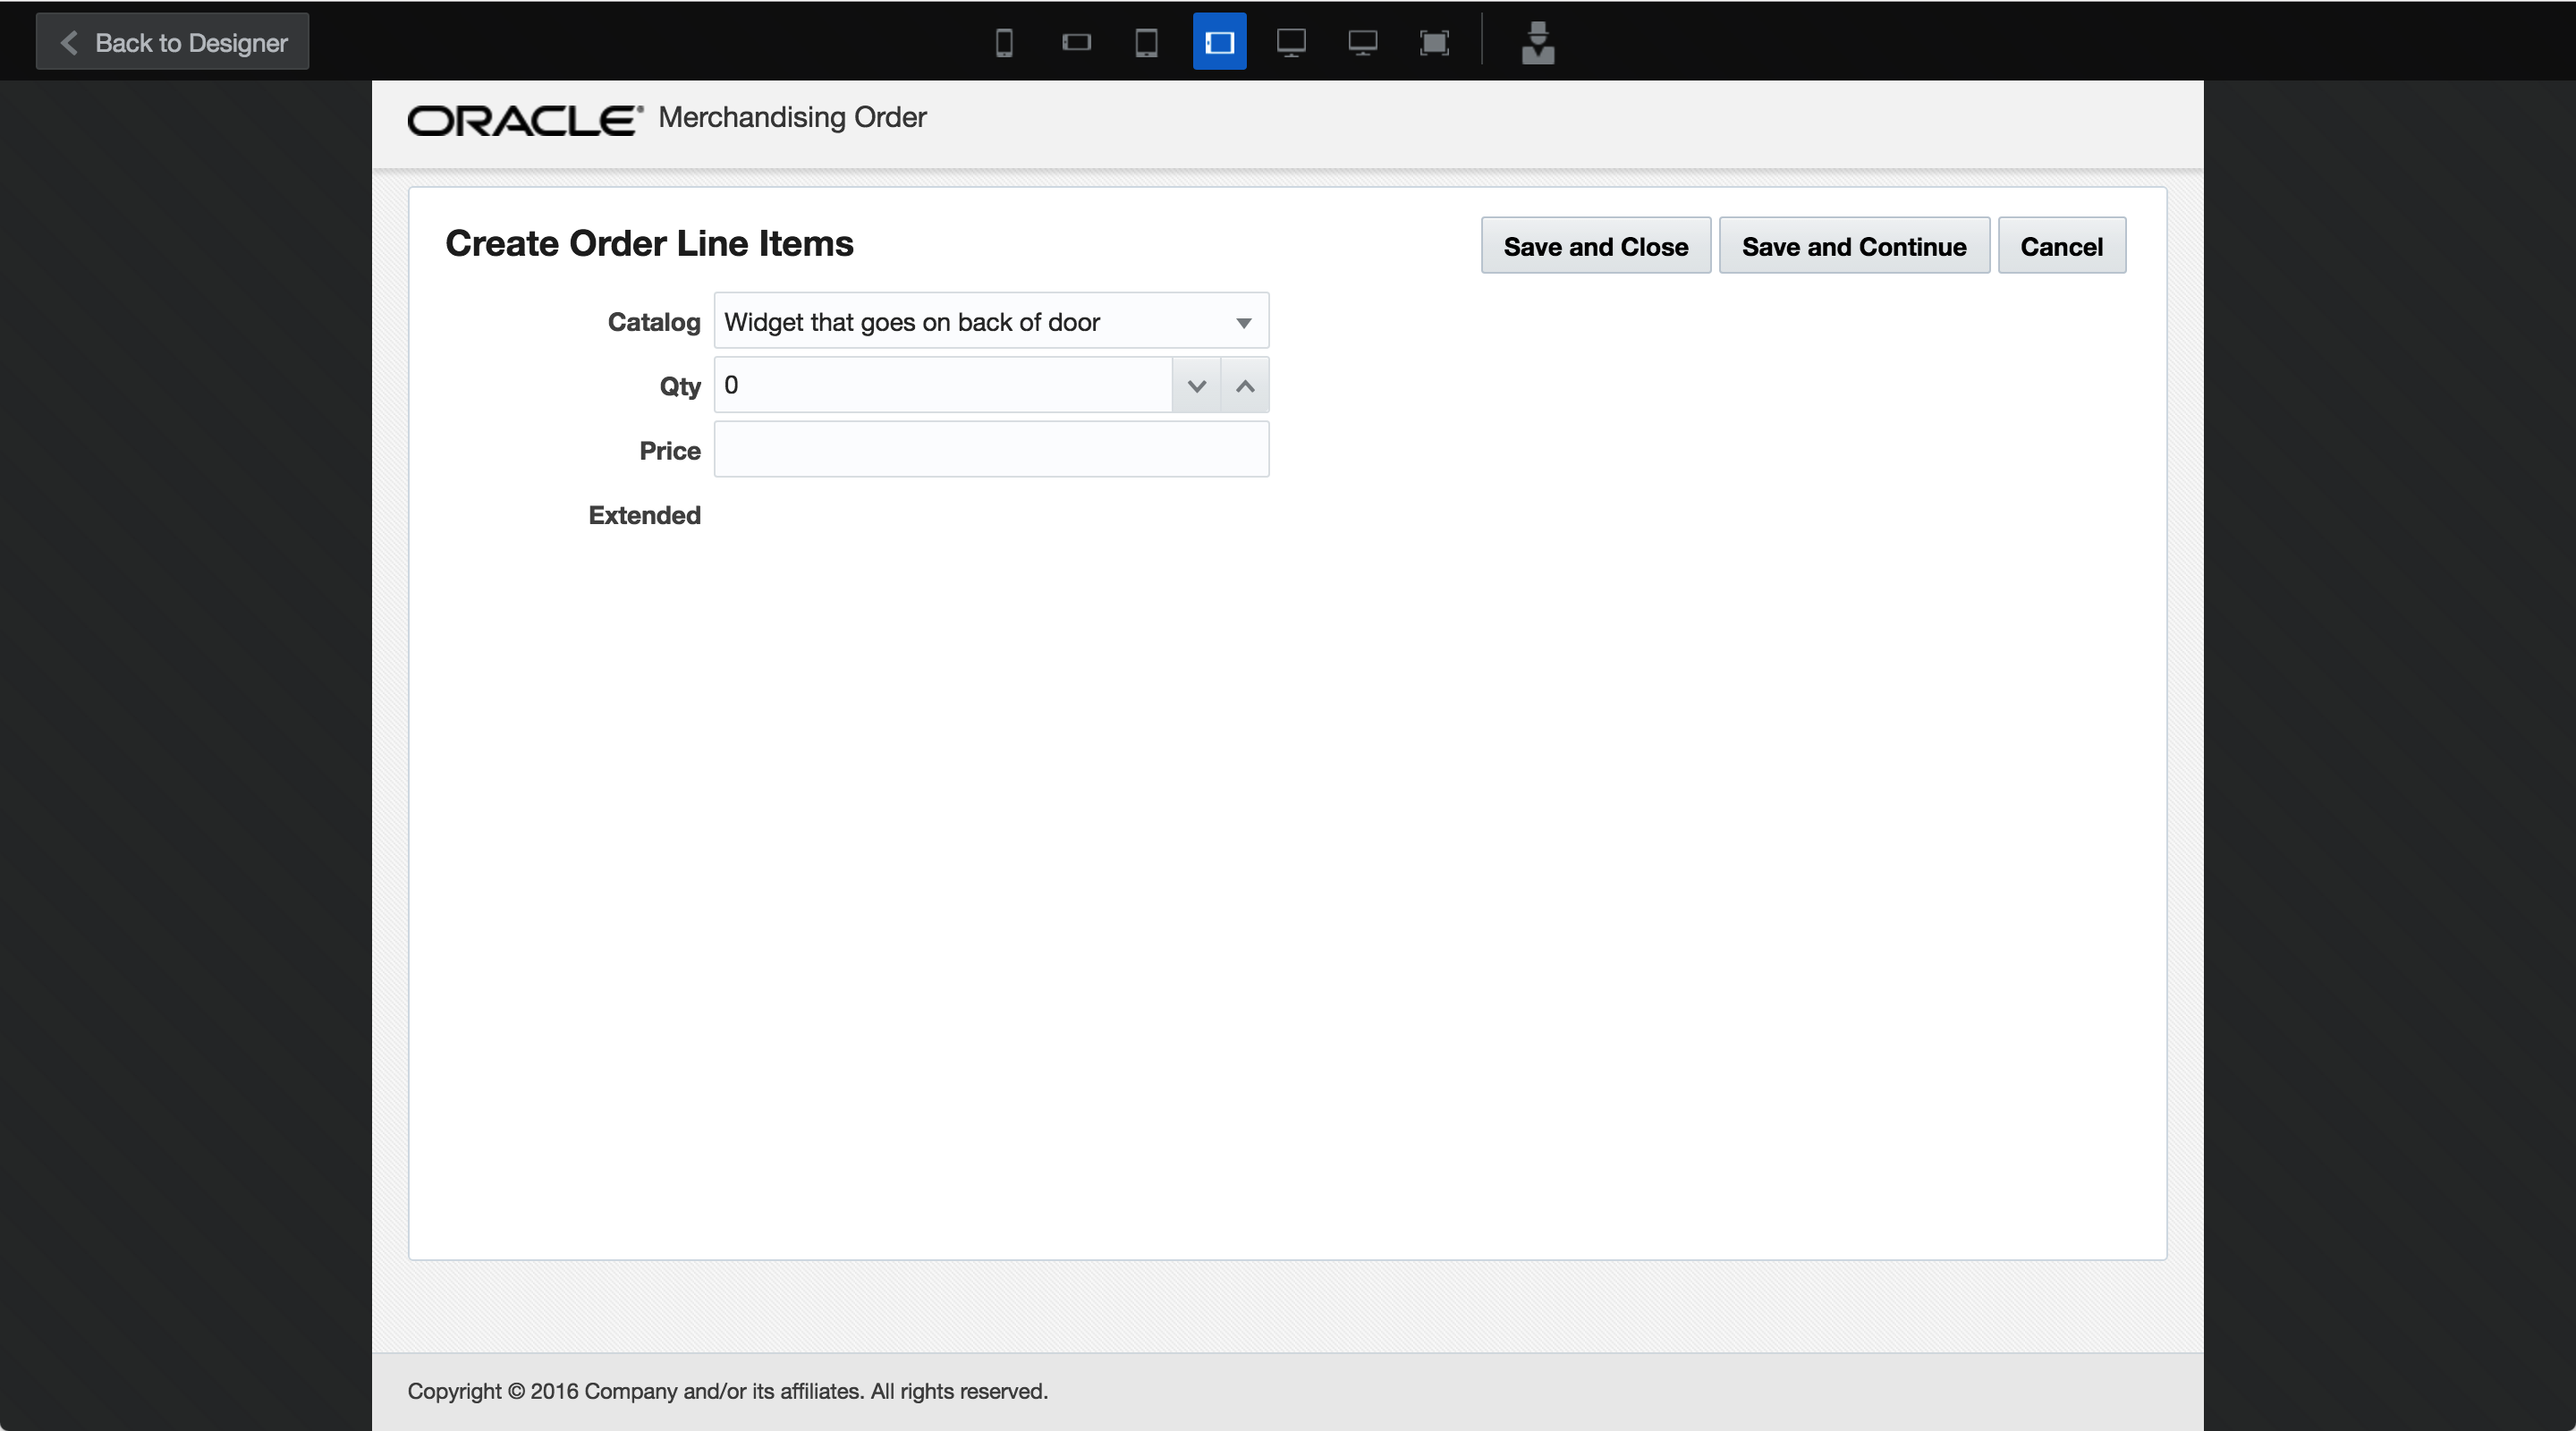
Here’s an example where custom code let us leverage a combobox to not only lookup an entry in a LOV table, but also populate more than one field’s data based on the user’s combobox choice:
We had a requirement to store part numbers, descriptions and list prices in a “catalog” business component which would be used as a lookup table. In another part of the app we wanted to create order lines and use a combobox link to the catalog table to populate default values for the ordered items.
The problem we ran into is that a combobox field is a foreign key reference field and it only populates one field in a business component. There isn’t a way to “pull” data back into multiple fields. But we wanted the combobox to fill in not just the item number for an order line, but also the list price. Using the standard combobox component it would only fill in the item description.

In the screenshot above, the only field that gets updated by a combobox selection is the catalog item itself. Behind the scenes the business object gets populated with a foreign key ID for the lookup table, and the UI gets populated with the description. But we wanted to populate the Price field in the screenshot above, too.
Custom Code to the rescue!
The Custom Code component can accomplish what we want to do, but fair warning: you’re leaving the “citizen developer” world behind when you drop this tool onto your canvas.
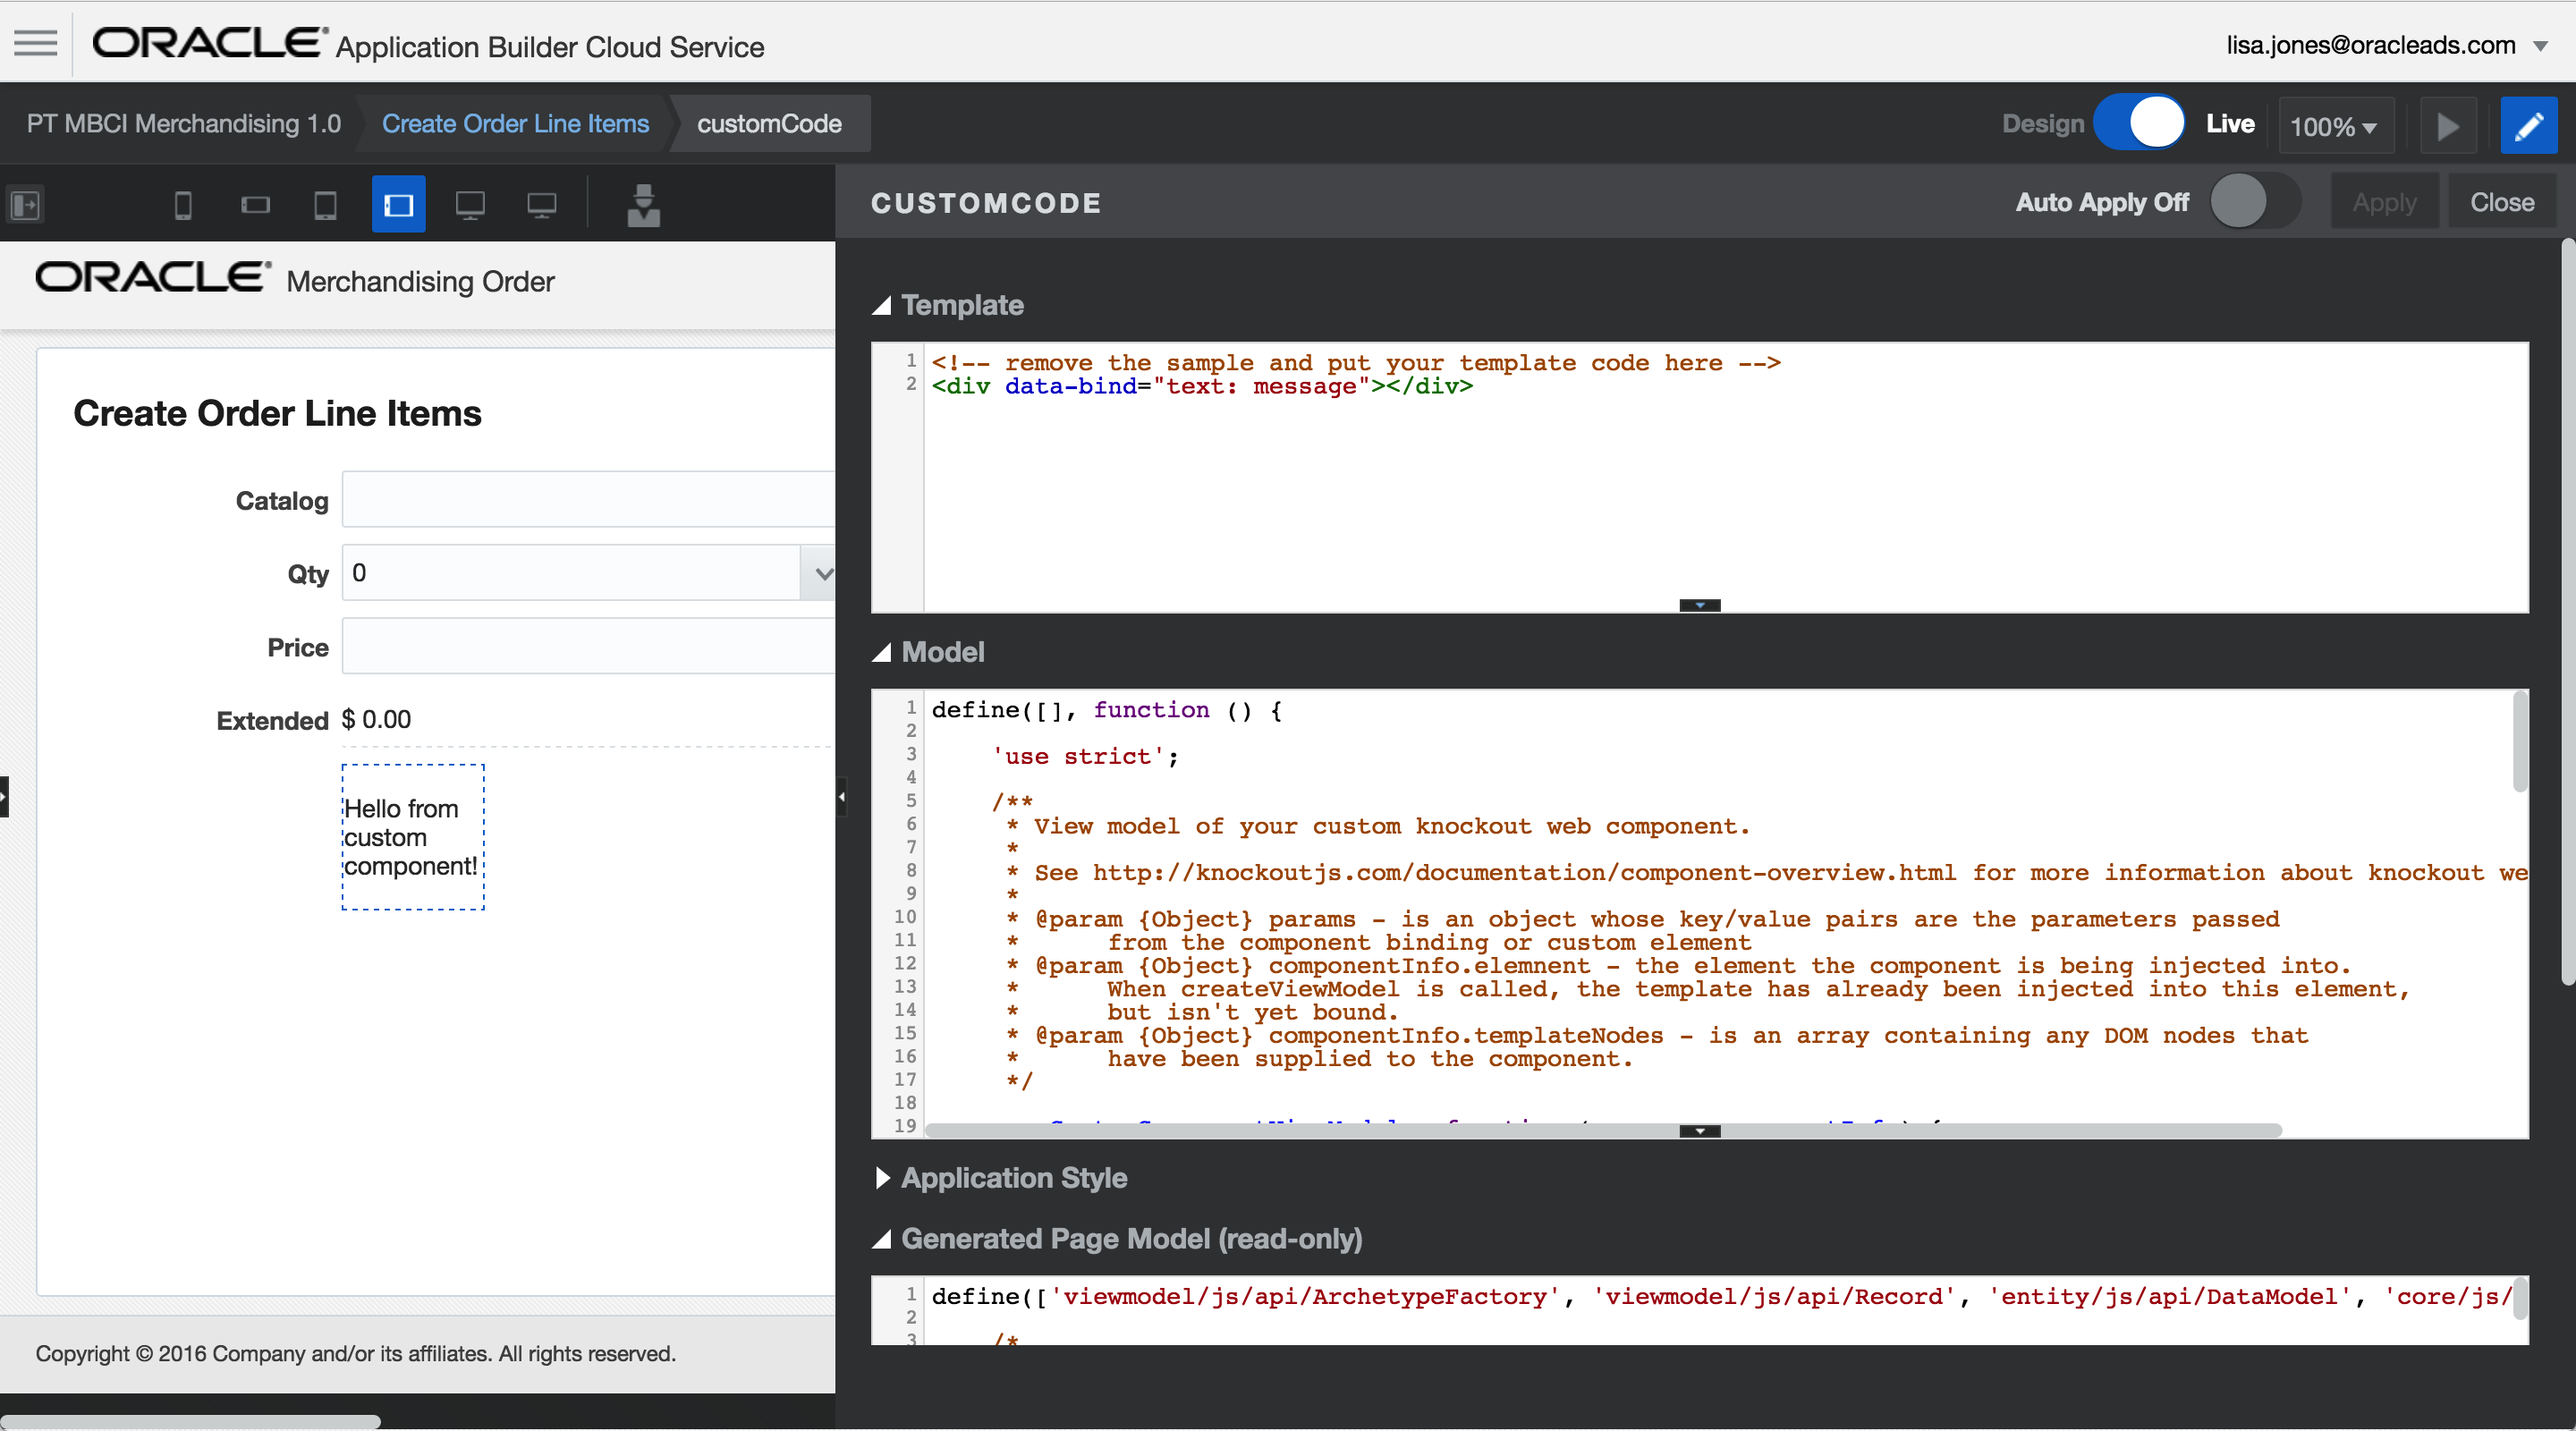
When you drag one of these from the palette, you get a property inspector that reflects ABCS’ Oracle JET heritage, steeped in it’s own Knockout.js MVVM architecture. There’s not a lot of documentation yet on how to modify a custom code component, either in the Using ABCS guide or the JavaScript API Reference.

Thanks to my colleague David Konecny I was able to learn some tricks about the Custom Component and how to use it to manipulate the data models behind an ABCS page.
console.log() all the things
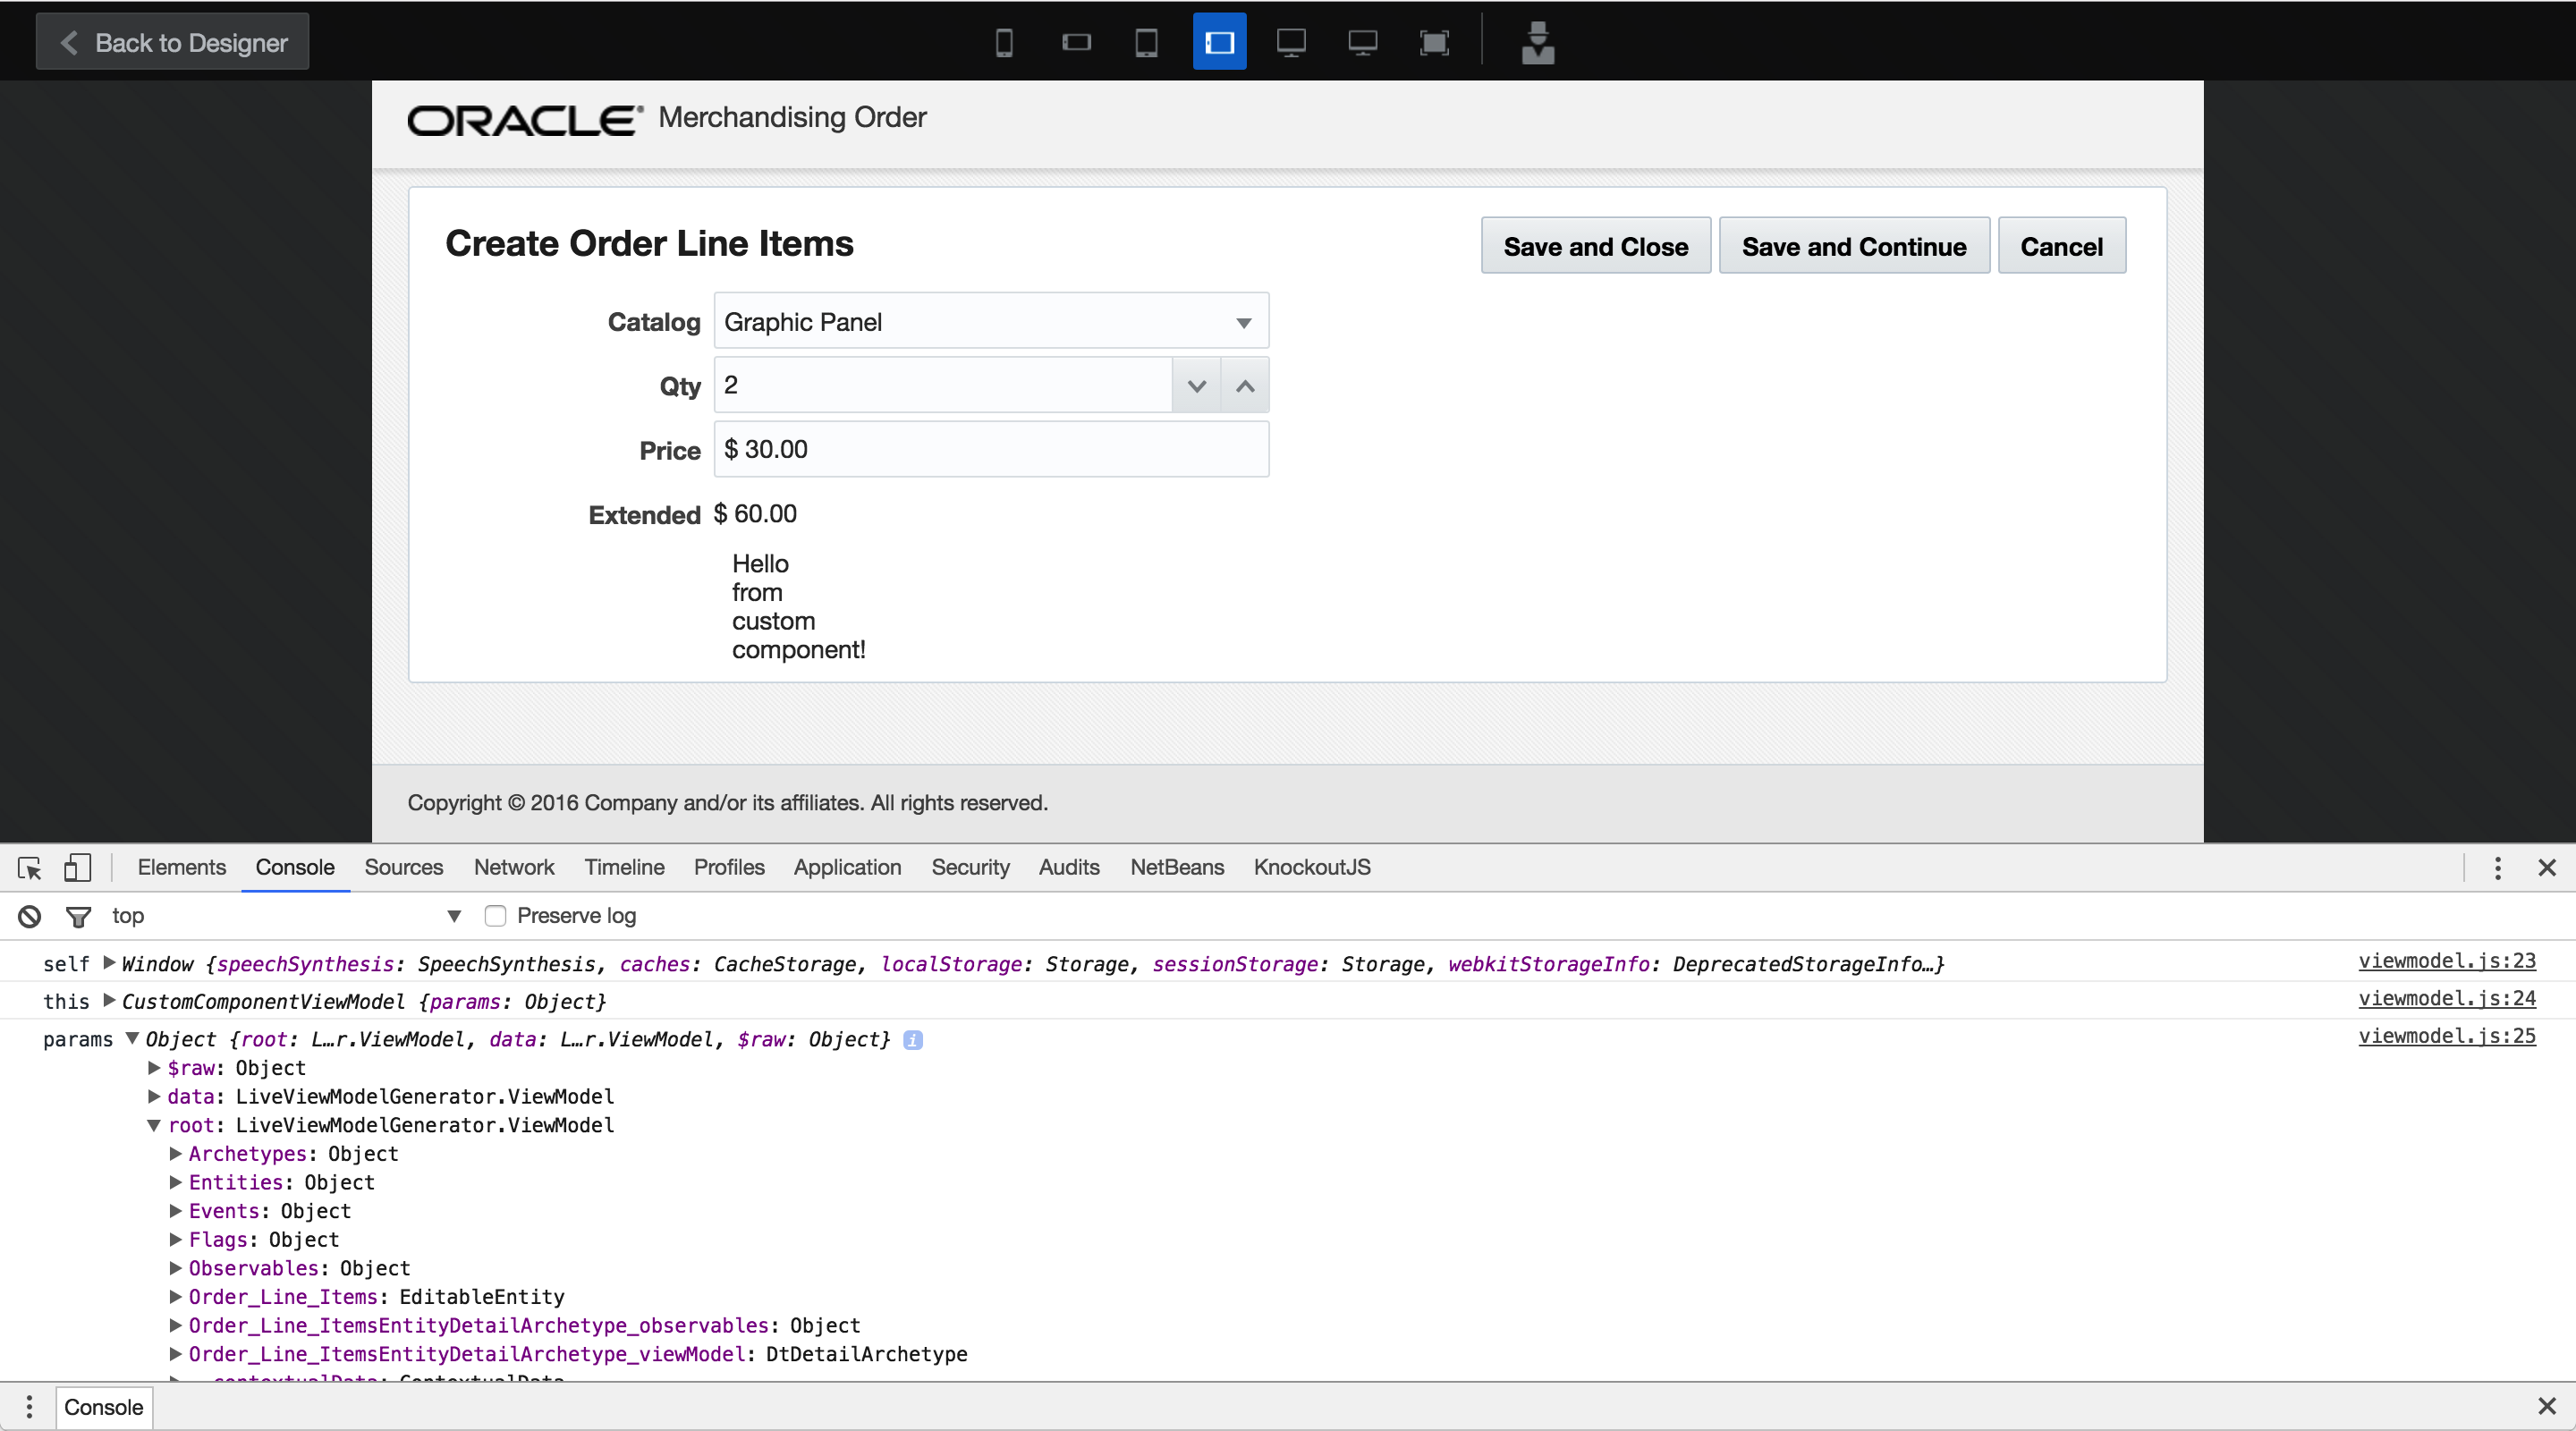
One trick that was useful was to get insight into what models were already available in the standard custom component code. You’ll see in the default code that a custom component gets its own viewmodel called CustomComponentViewModel and that ABCS passes in two parameters: params and componentInfo. So I started by console.log-ing all of these objects out and taking a look at them in the browser console while previewing the ABCS page.
...

var CustomComponentViewModel = function (params, componentInfo) {
  AbcsLib.checkThis(this);
  this.params = params;

  console.log('self', self);
  console.log('this', this);
  console.log('params', params);
  console.log('componentInfo', componentInfo);

  //the page view model
  this.pageViewModel = params.root;

...
Notice that the standard component code makes some convenience variable assignments that the component’s viewModel can access, such as with the line this.pageViewModel = params.root;. This lets you access all of the page’s backing data objects (not just for the viewModel for your custom component).
With liberal use of debugger; statements and more console.logging, you can discover things like Knockout observables for each of the fields on your page. Remember that observables can get a value you want to read, but they can also set a value you want to change.
This was the key for populating more than one field with data from the lookup table: if I could get the right price that matched the item selected in the combobox, I could use the page’s observables to push it into the right field with code like this:
var model = this.pageViewModel;

model.Observables.Order_Line_ItemsEntityDetailArchetype.item.Price_2(price);
(here, Price_2 is the name of the field in my order lines business object that I want to set, and price is a JavaScript var that holds the looked-up list item price that I’ll retrieve with code coming up, below)
How to use the combobox to access the lookup table
Since a ABCS page form is bound to a single business object, I didn’t have a direct handle to the lookup table while creating a new order line record. But I could ask the combobox to tell me what the lookup table values were.
David pointed me to the trick to get ahold of the correct price out of the lookup table, leveraging the current page’s combobox value to get the matching price.
Here’s David’s code:
var selectedCatalogueRecord = model.Archetypes.Order_Line_ItemsEntityDetailArchetype.getObservables()
  .item['ref2Catalog'].getSelectedRecord();

var price = selectedCatalogueRecord['Price'];
(here, ref2Catalog is the name of my combobox field in the order lines business object, and Price is the list price column in my catalog lookup table)
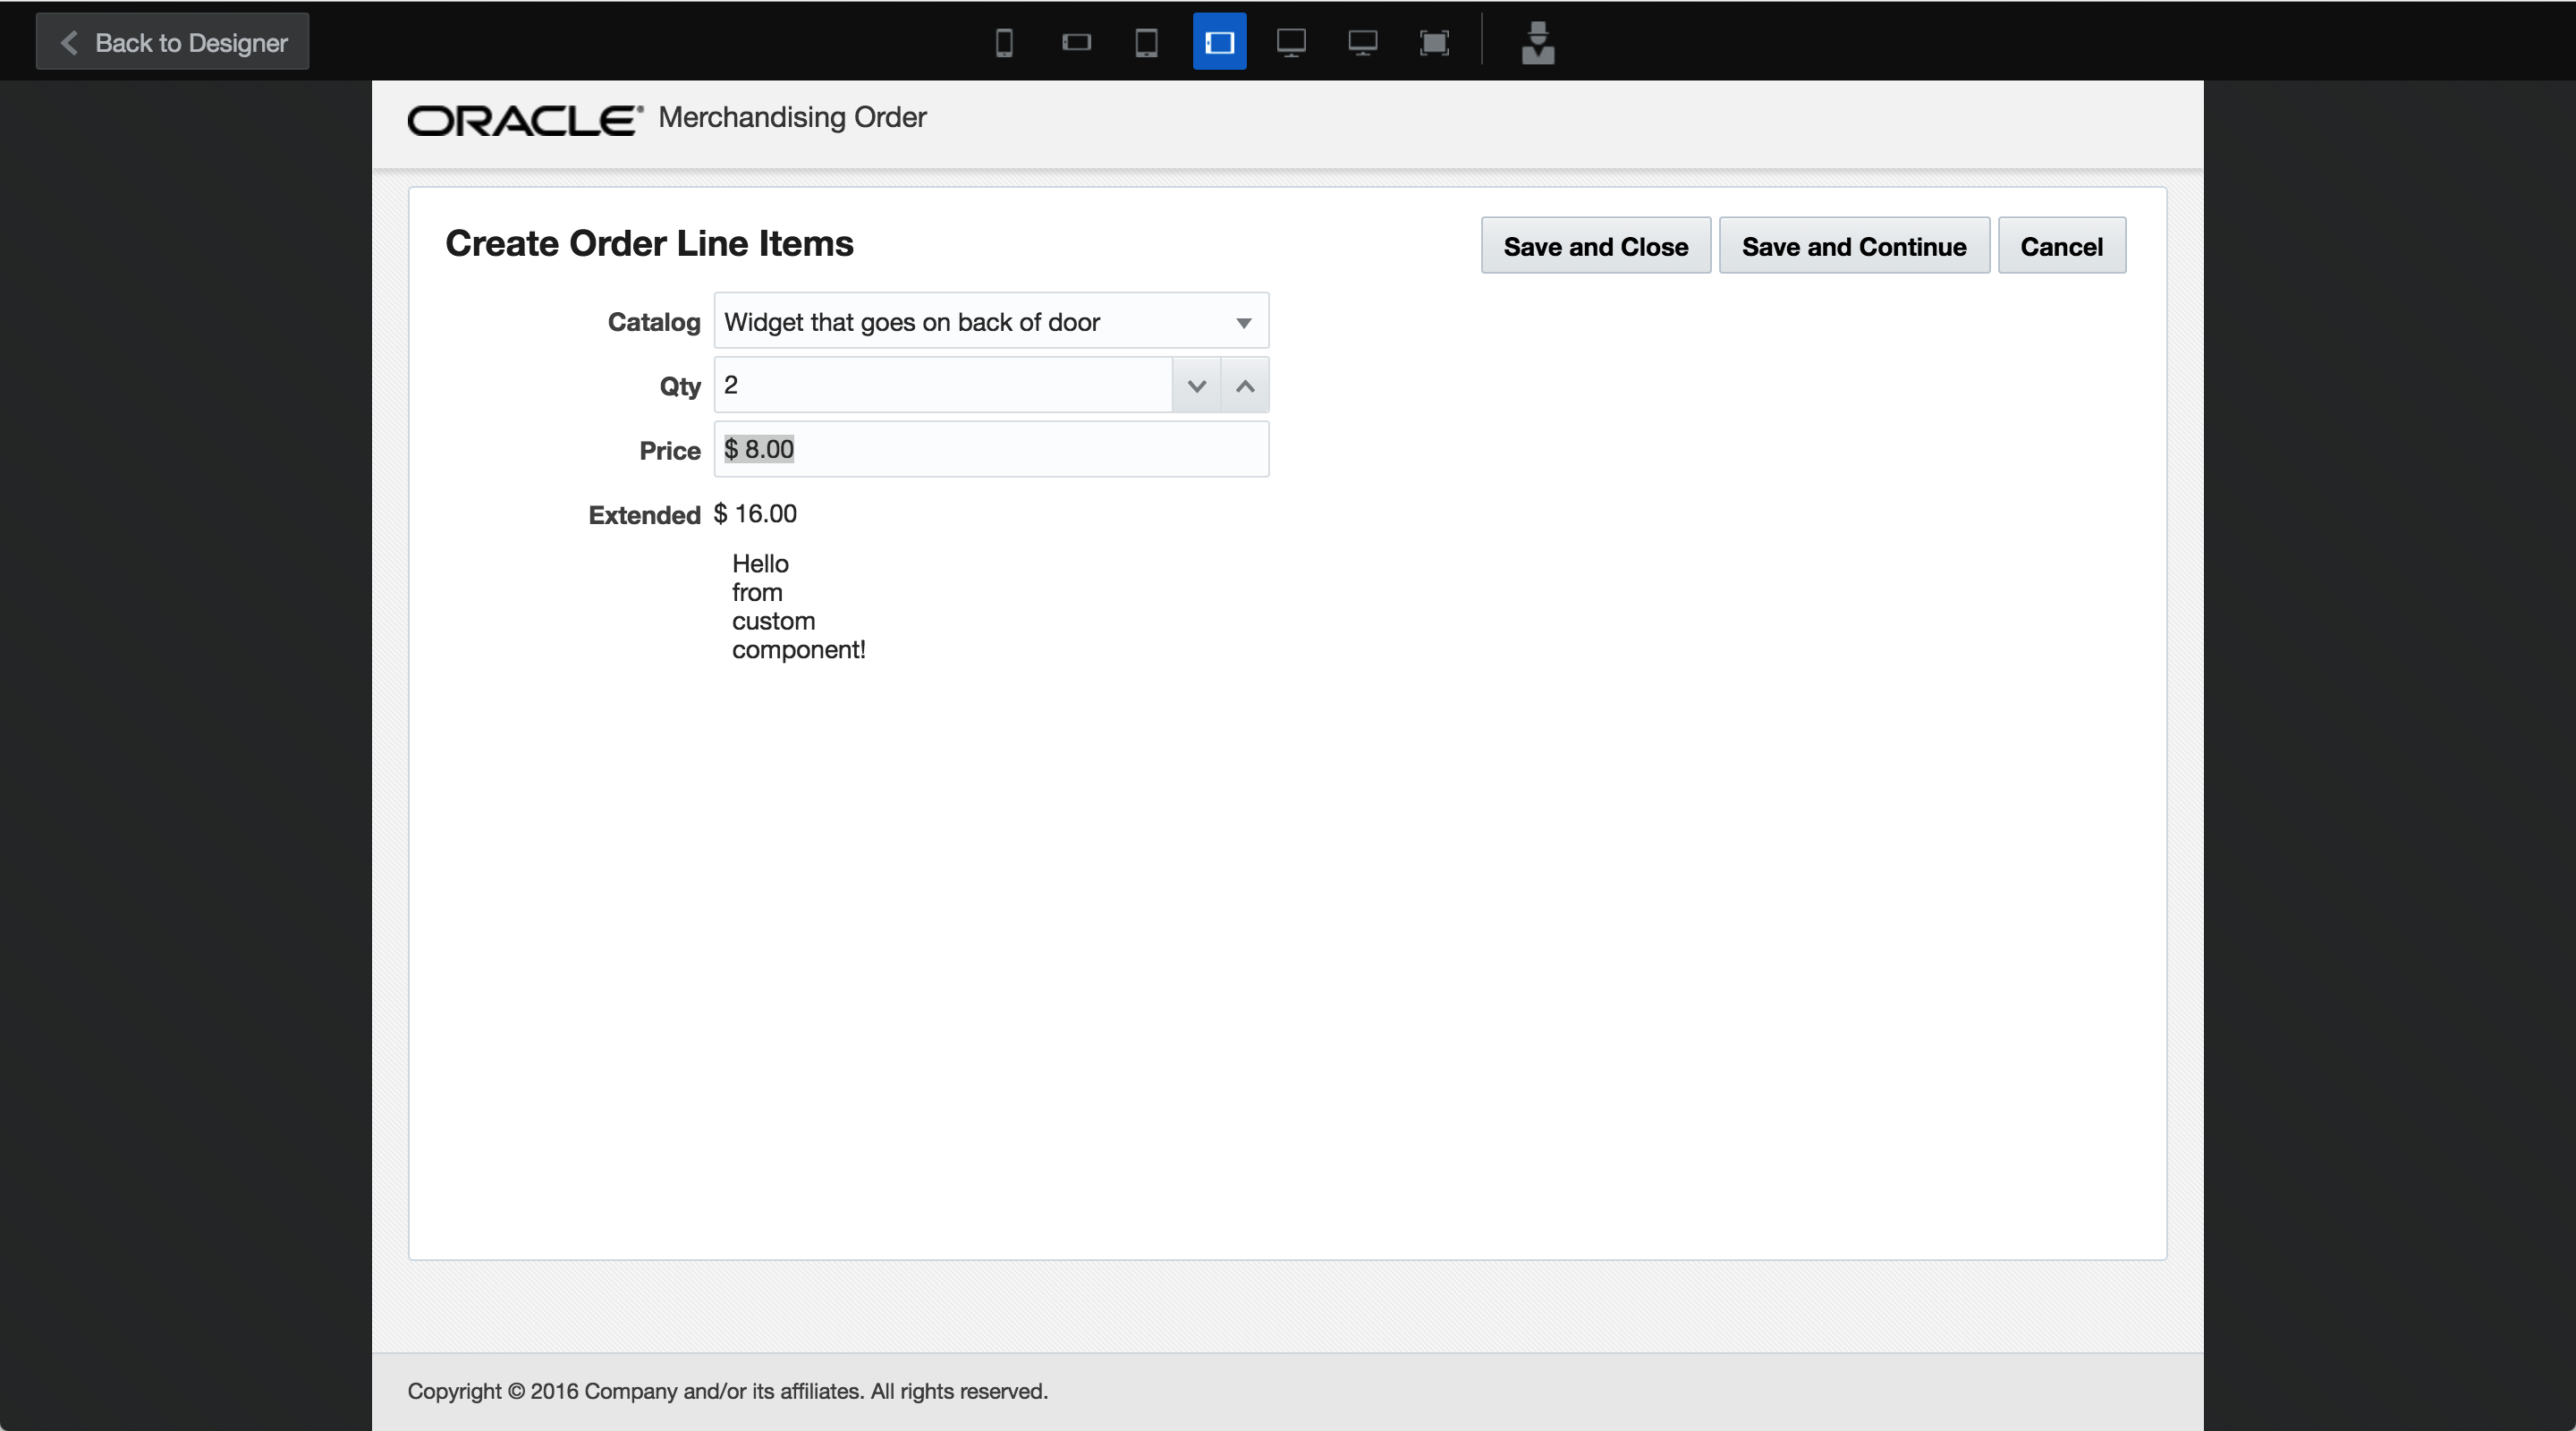
So this code works great if it runs after the combobox has selected a value. We hooked it up to a button we called Manually Lookup Price to test. It would ask the combobox for its selected record and get the right price. Then with the code from earlier we pushed the right price into the order line business object’s Price_2 observable, and it updated the record just like we wanted.
Listening for changes to the combobox
The last piece of the puzzle involved making the lookup automatic. We didn’t want to press a button to Manually Lookup Price every time; we wanted the user’s action of changing the combobox to fire an event we could intercept to run our code.
Getting a handle to the combobox’s change event was tricky. At first I was tempted to just use jQuery to grab ahold of it in the view, but that just seemed wrong to cross over into the UI to hook the data change event.
Again David helped me with getting the combobox’s .item['ref2Catalog'].currentObject handle and then setting up a callback to run our code with a subscribe() function.
Here’s the entirety of the code that we added to the CustomComponentViewModel function to pull back lookup data and push it into multiple fields in our order lines business object:
...
//assign pageViewModel to model for convenience
var model = this.pageViewModel;
console.log('pageViewModel', model);

//get array of all observables, then select the 'ref2Catalog' field by name
//so we can subscribe to change events, such as when a user picks a new value with the combobox
model.Archetypes.Order_Line_ItemsEntityDetailArchetype.getObservables()
  .item['ref2Catalog']
  .currentObject
  .subscribe(function() {
    //use the combobox item to retrieve the entire selected record from the lookup table
    var selectedCatalogueRecord = model.Archetypes.Order_Line_ItemsEntityDetailArchetype.getObservables()
	  .item['ref2Catalog']
	  .getSelectedRecord();

  	console.log('selectedCatalogueRecord', selectedCatalogueRecord);

    //use the selected record array to retrieve Price and Item_ID by name
    var price = selectedCatalogueRecord['Price'];
	console.log('price', price);
    var itemID = selectedCatalogueRecord['Item_ID'];
	console.log('itemID', itemID);

    //push the retrieved values into the other fields in the line item form's business object
    //the UI will update with price, and Item_ID is hidden on the form but shows up in the summary table in another part of the app
    model.Observables.Order_Line_ItemsEntityDetailArchetype.item.Price_2(price);
    model.Observables.Order_Line_ItemsEntityDetailArchetype.item.Item_ID(itemID);

  });

...
Now, when a user makes a change with the combobox, our code fires and looks up the price associated with the selected item in the combobox and then pushes that into the editable Price field on our line items business object. A calculated field for extended price multiplies Qty times Price to get a total number. The UI updates and the user can make adjustments before saving.
We ended up removing the default message text in the Custom Code component to make it invisible, but I left it in there in the screenshots above to make it obvious that there was custom code on the page.